Set up a Naemon development environment with Eclipse
This guide sets up Naemon Core for development, with a debugger and Valgrind attached, using Eclipse. For a production install, follow Install Naemon Core on Ubuntu instead.
Run everything as your own user, not as root.
Install Eclipse
Download Eclipse IDE for C/C++ Developers , then install a JRE:
sudo apt-get update
sudo apt-get install default-jre
Extract Eclipse into your home directory — substitute the filename you actually downloaded:
tar xfv eclipse-cpp-2019-03-R-linux-gtk-x86_64.tar.gz -C ~/Start it:
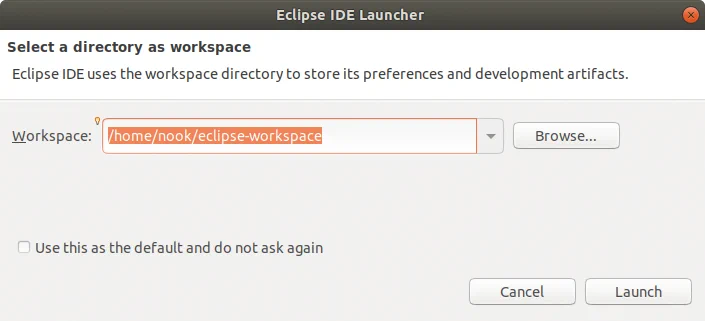
~/eclipse/eclipseAccept the default workspace path.
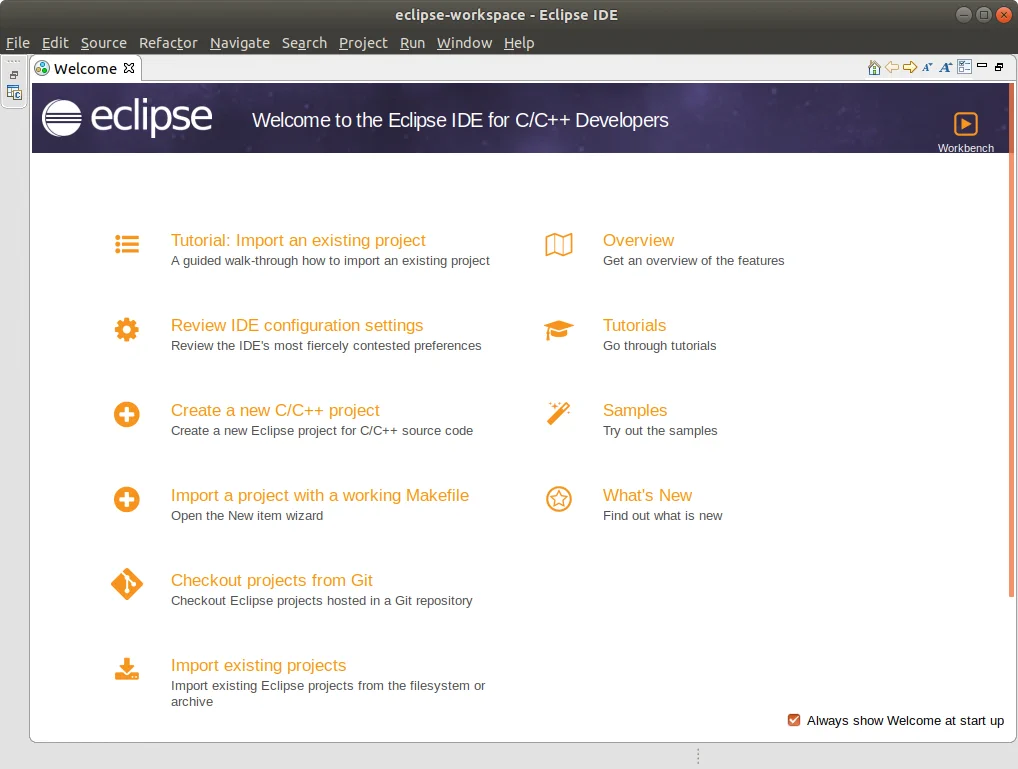
Minimise the welcome screen for now.
Install the Naemon build dependencies
sudo apt-get update
sudo apt-get install build-essential automake gperf help2man libtool libglib2.0-dev gdb monitoring-plugins git valgrind
Build a basic Naemon configuration
Naemon needs a naemon.cfg plus a host and service definition before it will
start. The quickest way to get them is to install a release once, into a
throwaway prefix, and keep only the configuration it generates:
cd /tmp/
wget https://github.com/naemon/naemon-core/archive/v1.5.2.tar.gz
tar xfv v1.5.2.tar.gz
cd naemon-core-1.5.2/

mkdir ~/naemon-dev
./autogen.sh --prefix=$(echo ~/naemon-dev) --with-naemon-user=$(whoami) --with-naemon-group=users --with-pluginsdir=/usr/lib/nagios/plugins
make all
make install

mkdir -p ~/naemon-dev/var/
mkdir -p ~/naemon-dev/var/cache/naemon
mkdir -p ~/naemon-dev/var/spool/checkresults
mkdir ~/naemon-dev/etc/naemon/module-conf.d

rm -rf ~/naemon-dev/bin
rm -rf ~/naemon-dev/include
rm -rf ~/naemon-dev/lib
rm -rf ~/naemon-dev/share
The four rm -rf lines are the point of the exercise: the binaries go away
again, and only ~/naemon-dev/etc and ~/naemon-dev/var are kept. Eclipse
builds the binary from now on.
Clone the Naemon source
mkdir -p ~/git
cd ~/git

git clone https://github.com/naemon/naemon-core.git
Configure Eclipse
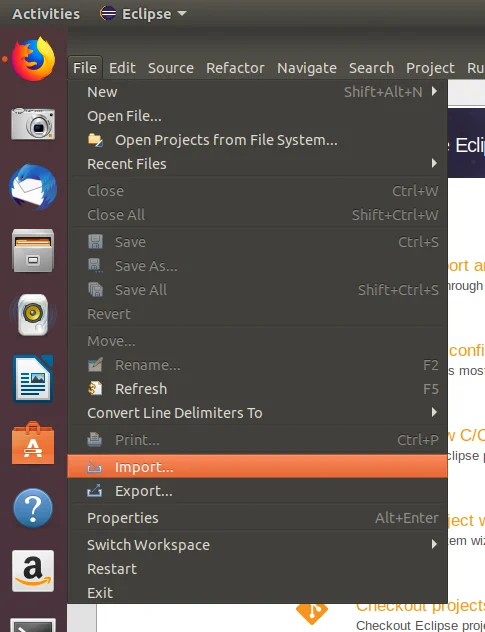
Close the welcome screen, then import the code with File → Import.
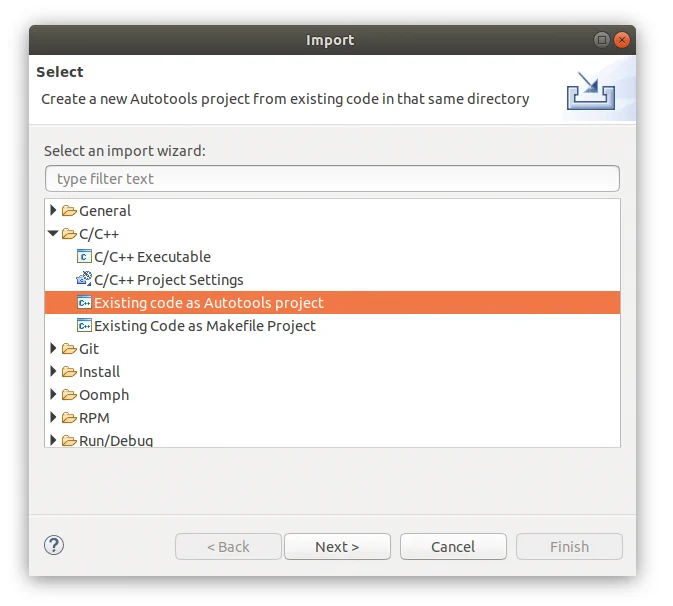
Choose C/C++ → Existing code as Autotools project.
Point it at ~/git/naemon-core.
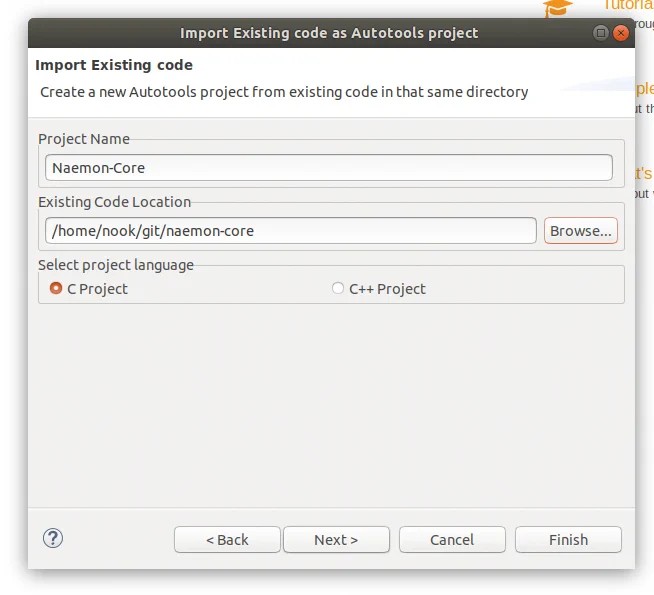
Finish the import.
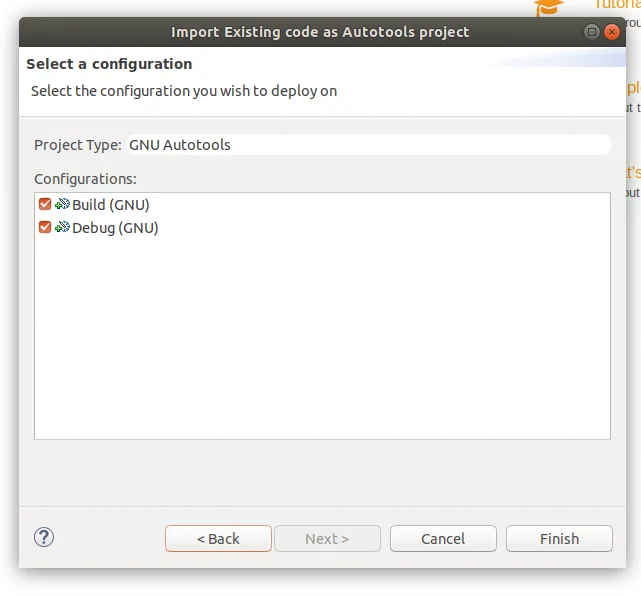
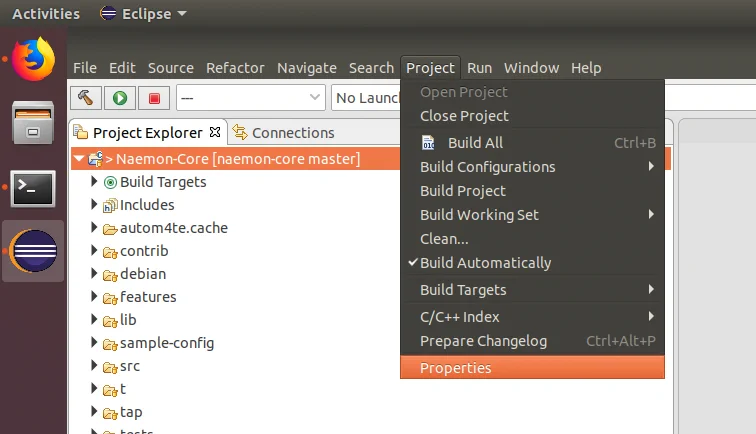
Set up Autotools
Go to Project → Properties → Autotools → Configuration Settings.
Set --prefix to the configuration you built above,
/home/<your user>/naemon-dev.
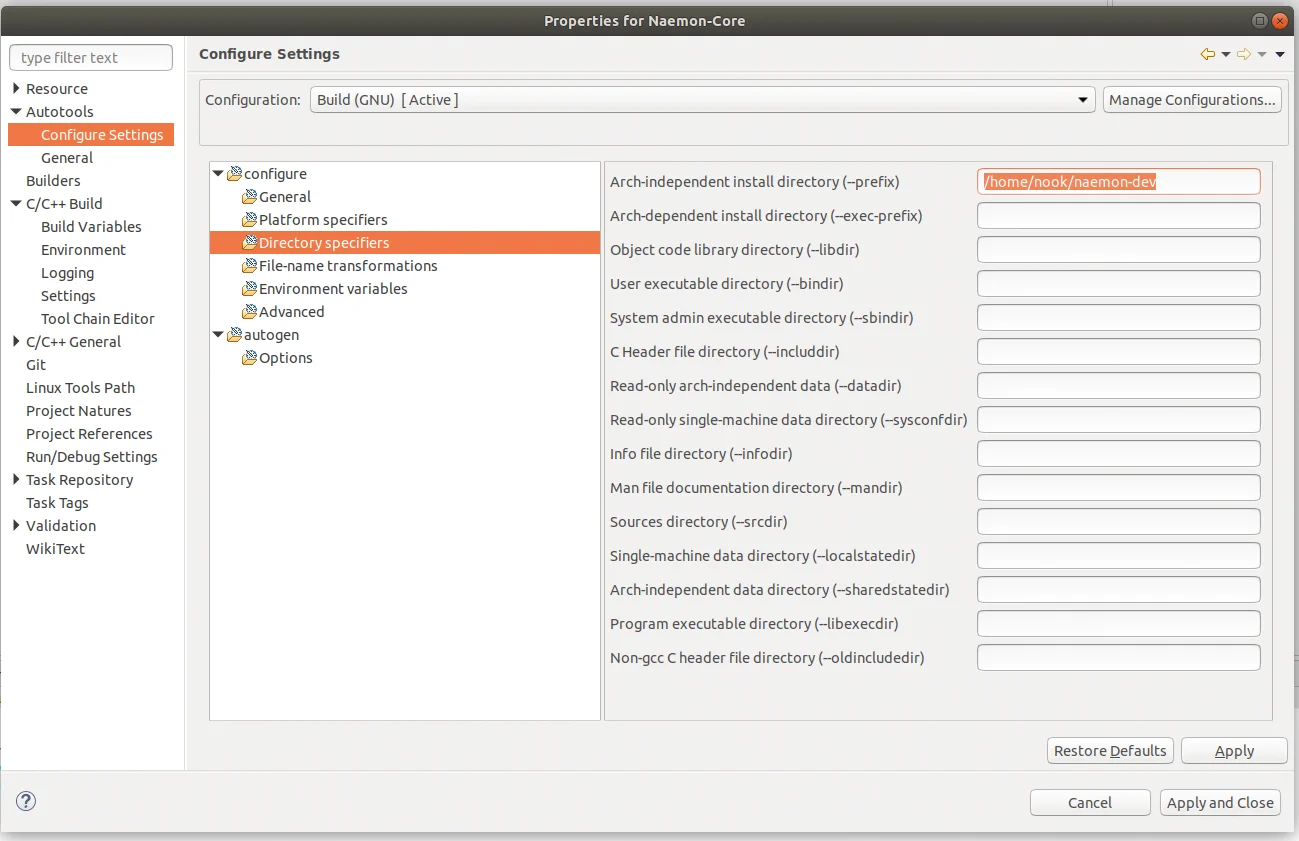
Enable the debug option.
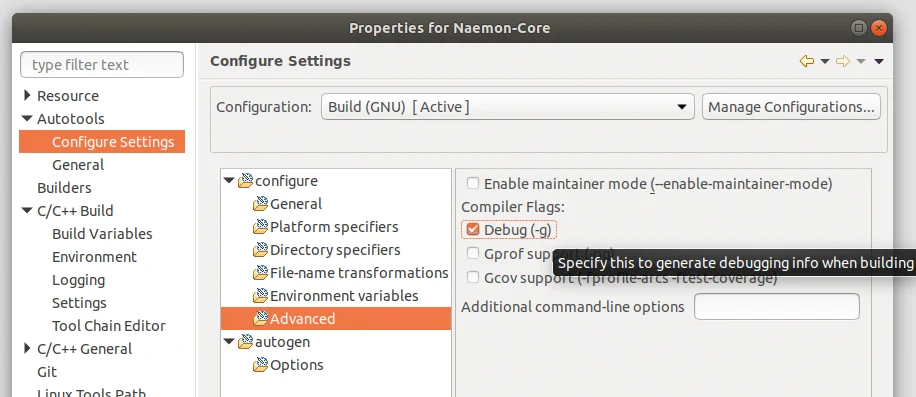
Add these additional command line options:
--with-naemon-user=$(echo ~/naemon-dev) --with-naemon-group=users --with-pluginsdir=/usr/lib/nagios/plugins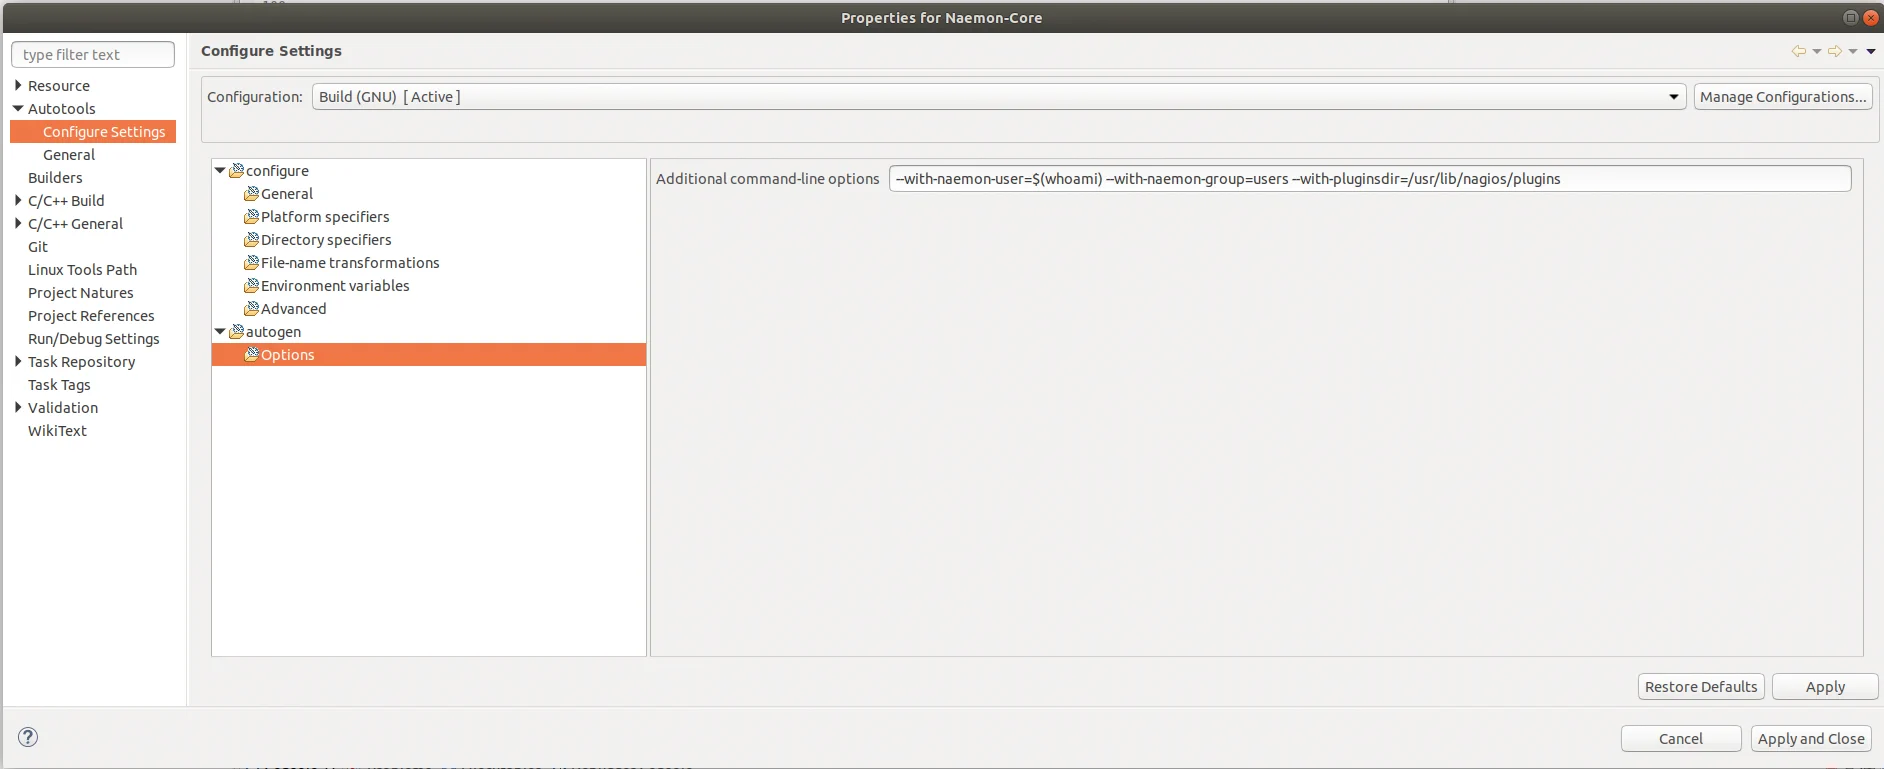
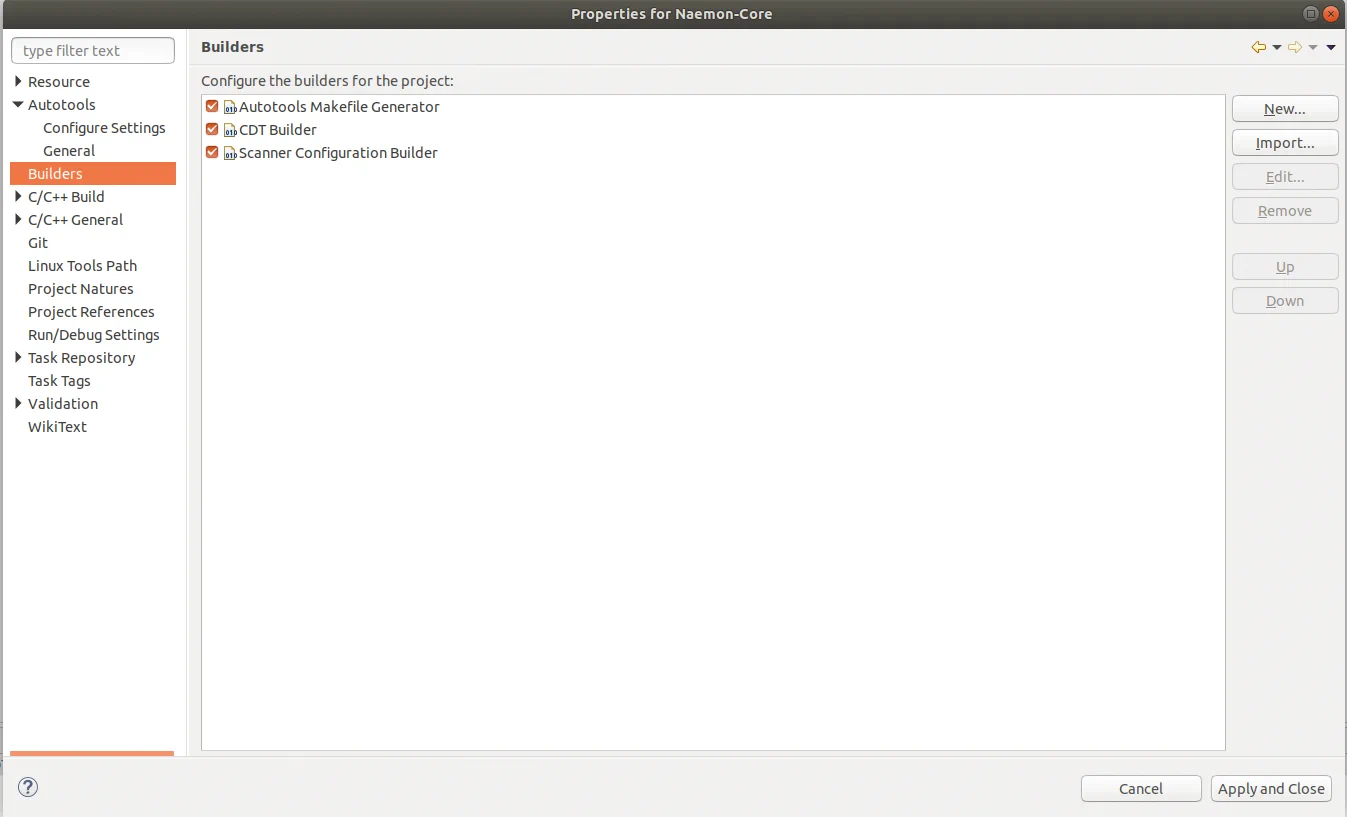
Check that all Builders are enabled, then Apply and Close.
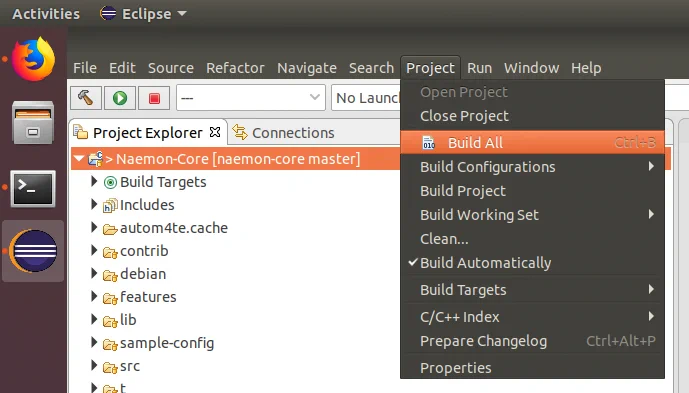
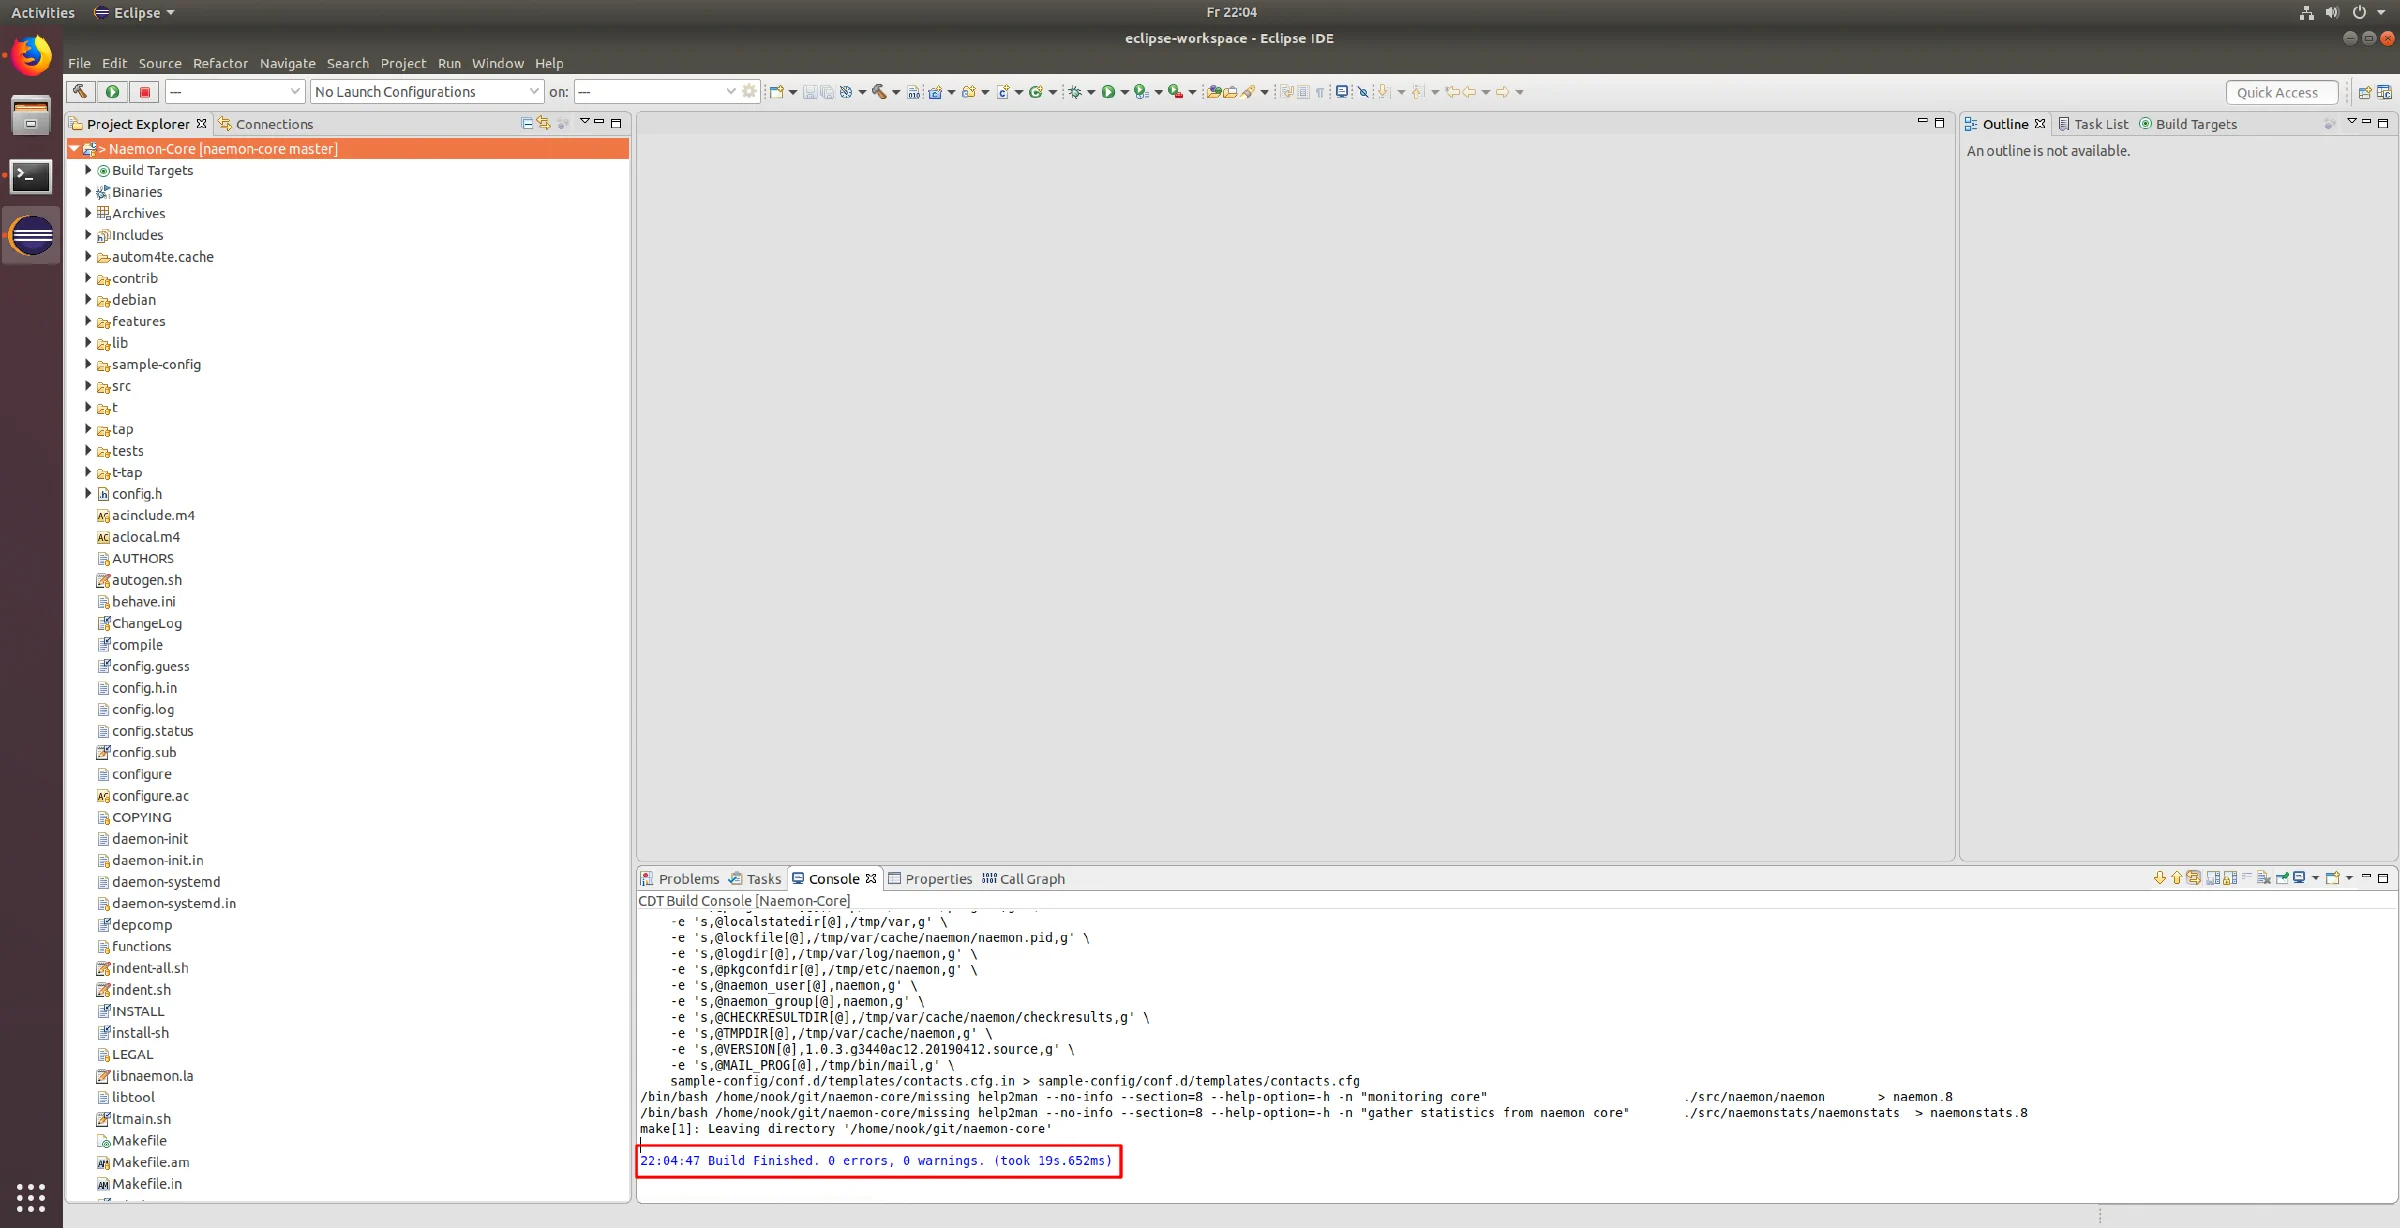
Build with Project → Build All.
Confirm the build succeeded.
Set up the run configuration
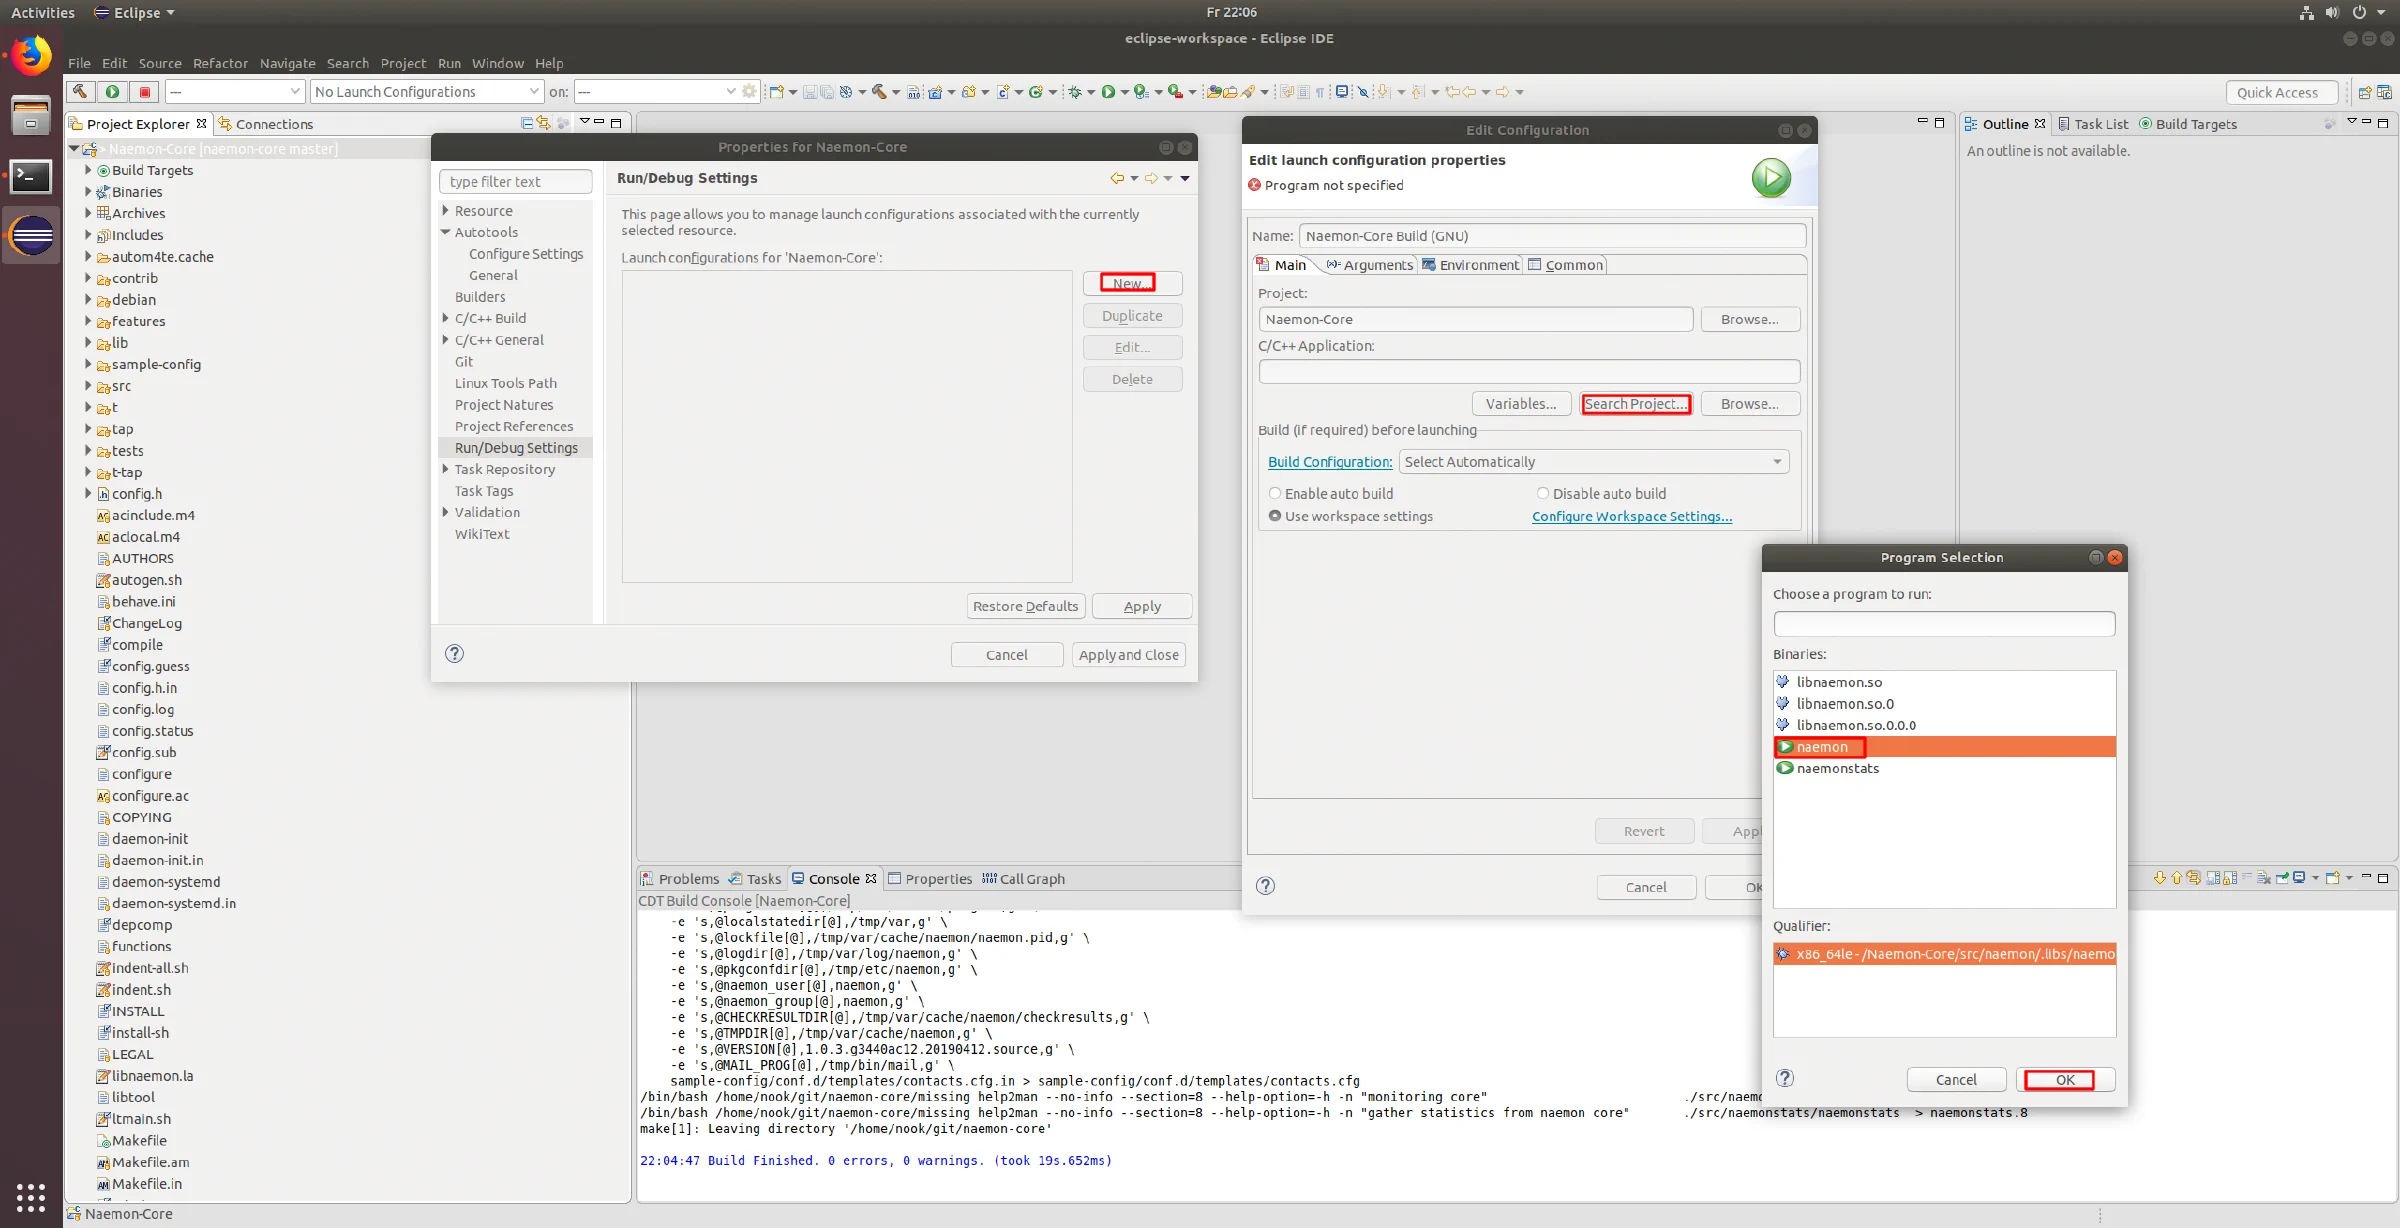
Go to Project → Properties → Run/Debug Settings → New → C/C++ Application,
click Search Project and pick the naemon binary.
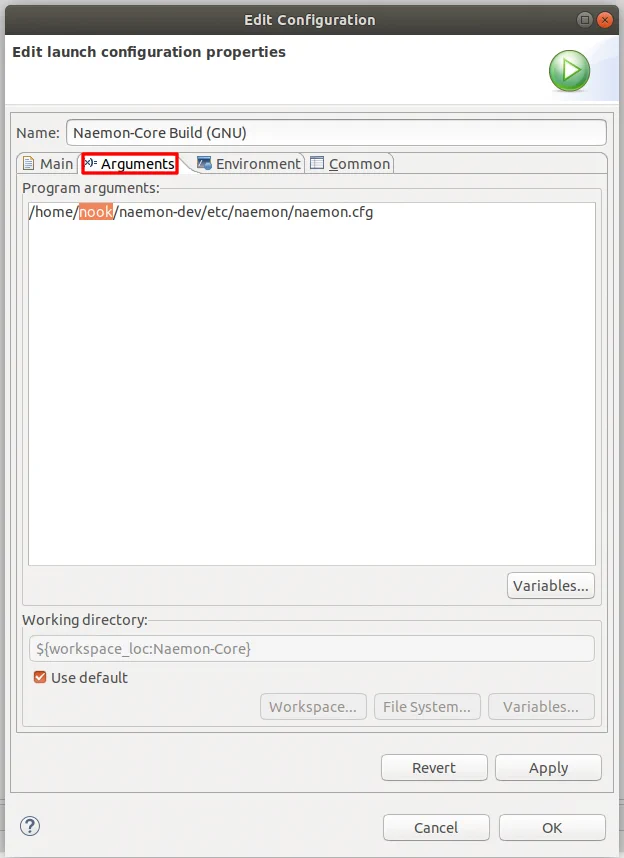
On the Arguments tab, pass
/home/<your user>/naemon-dev/etc/naemon/naemon.cfg.
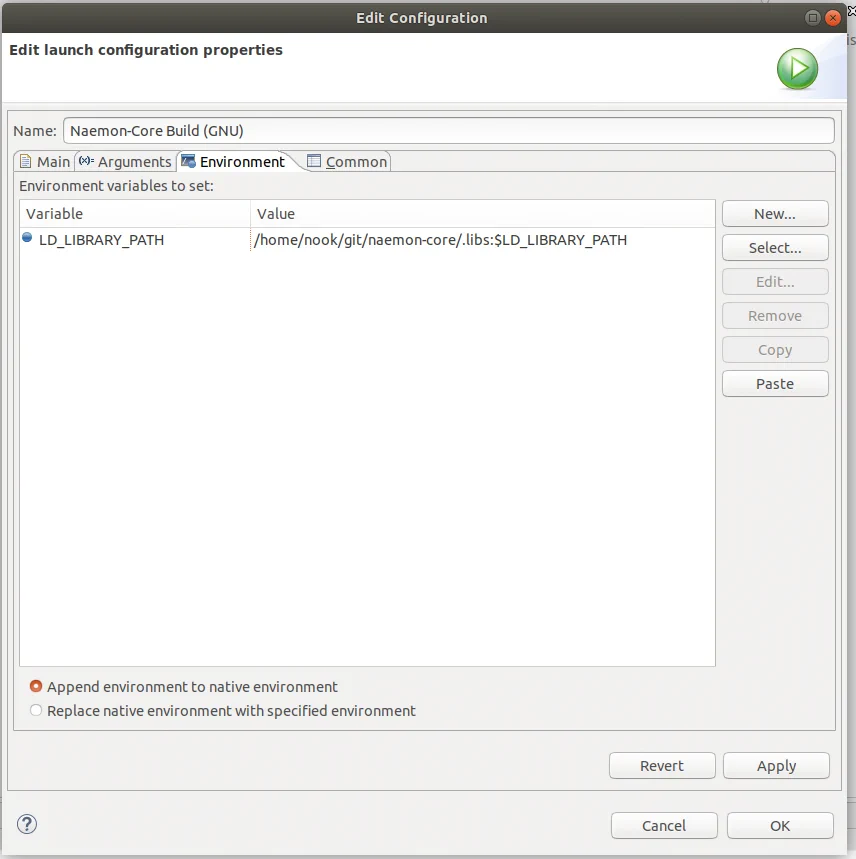
On the Environment tab, add LD_LIBRARY_PATH with the value
/home/<your user>/git/naemon-core/.libs:$LD_LIBRARY_PATH. Without it the
binary picks up an installed Naemon library instead of the one you just built.
Apply and close.
Run Naemon inside the IDE
Run it, and watch the console for:
Successfully launched command file worker with pid <PID>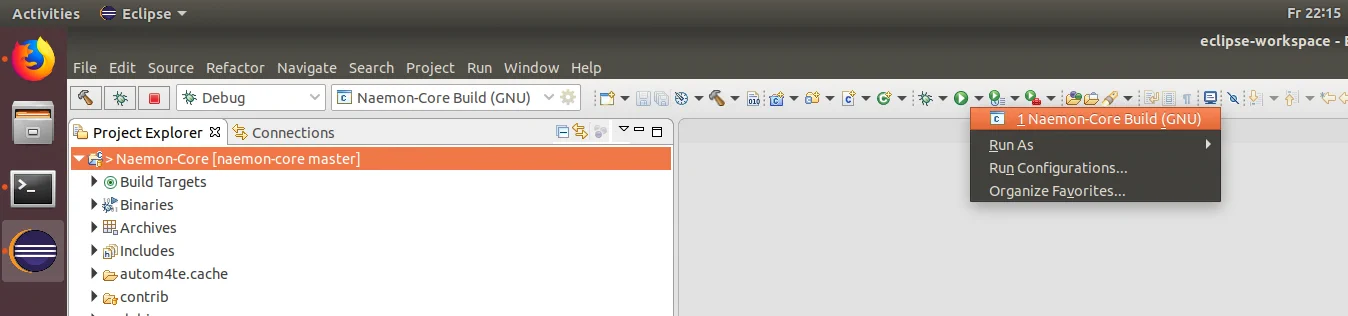
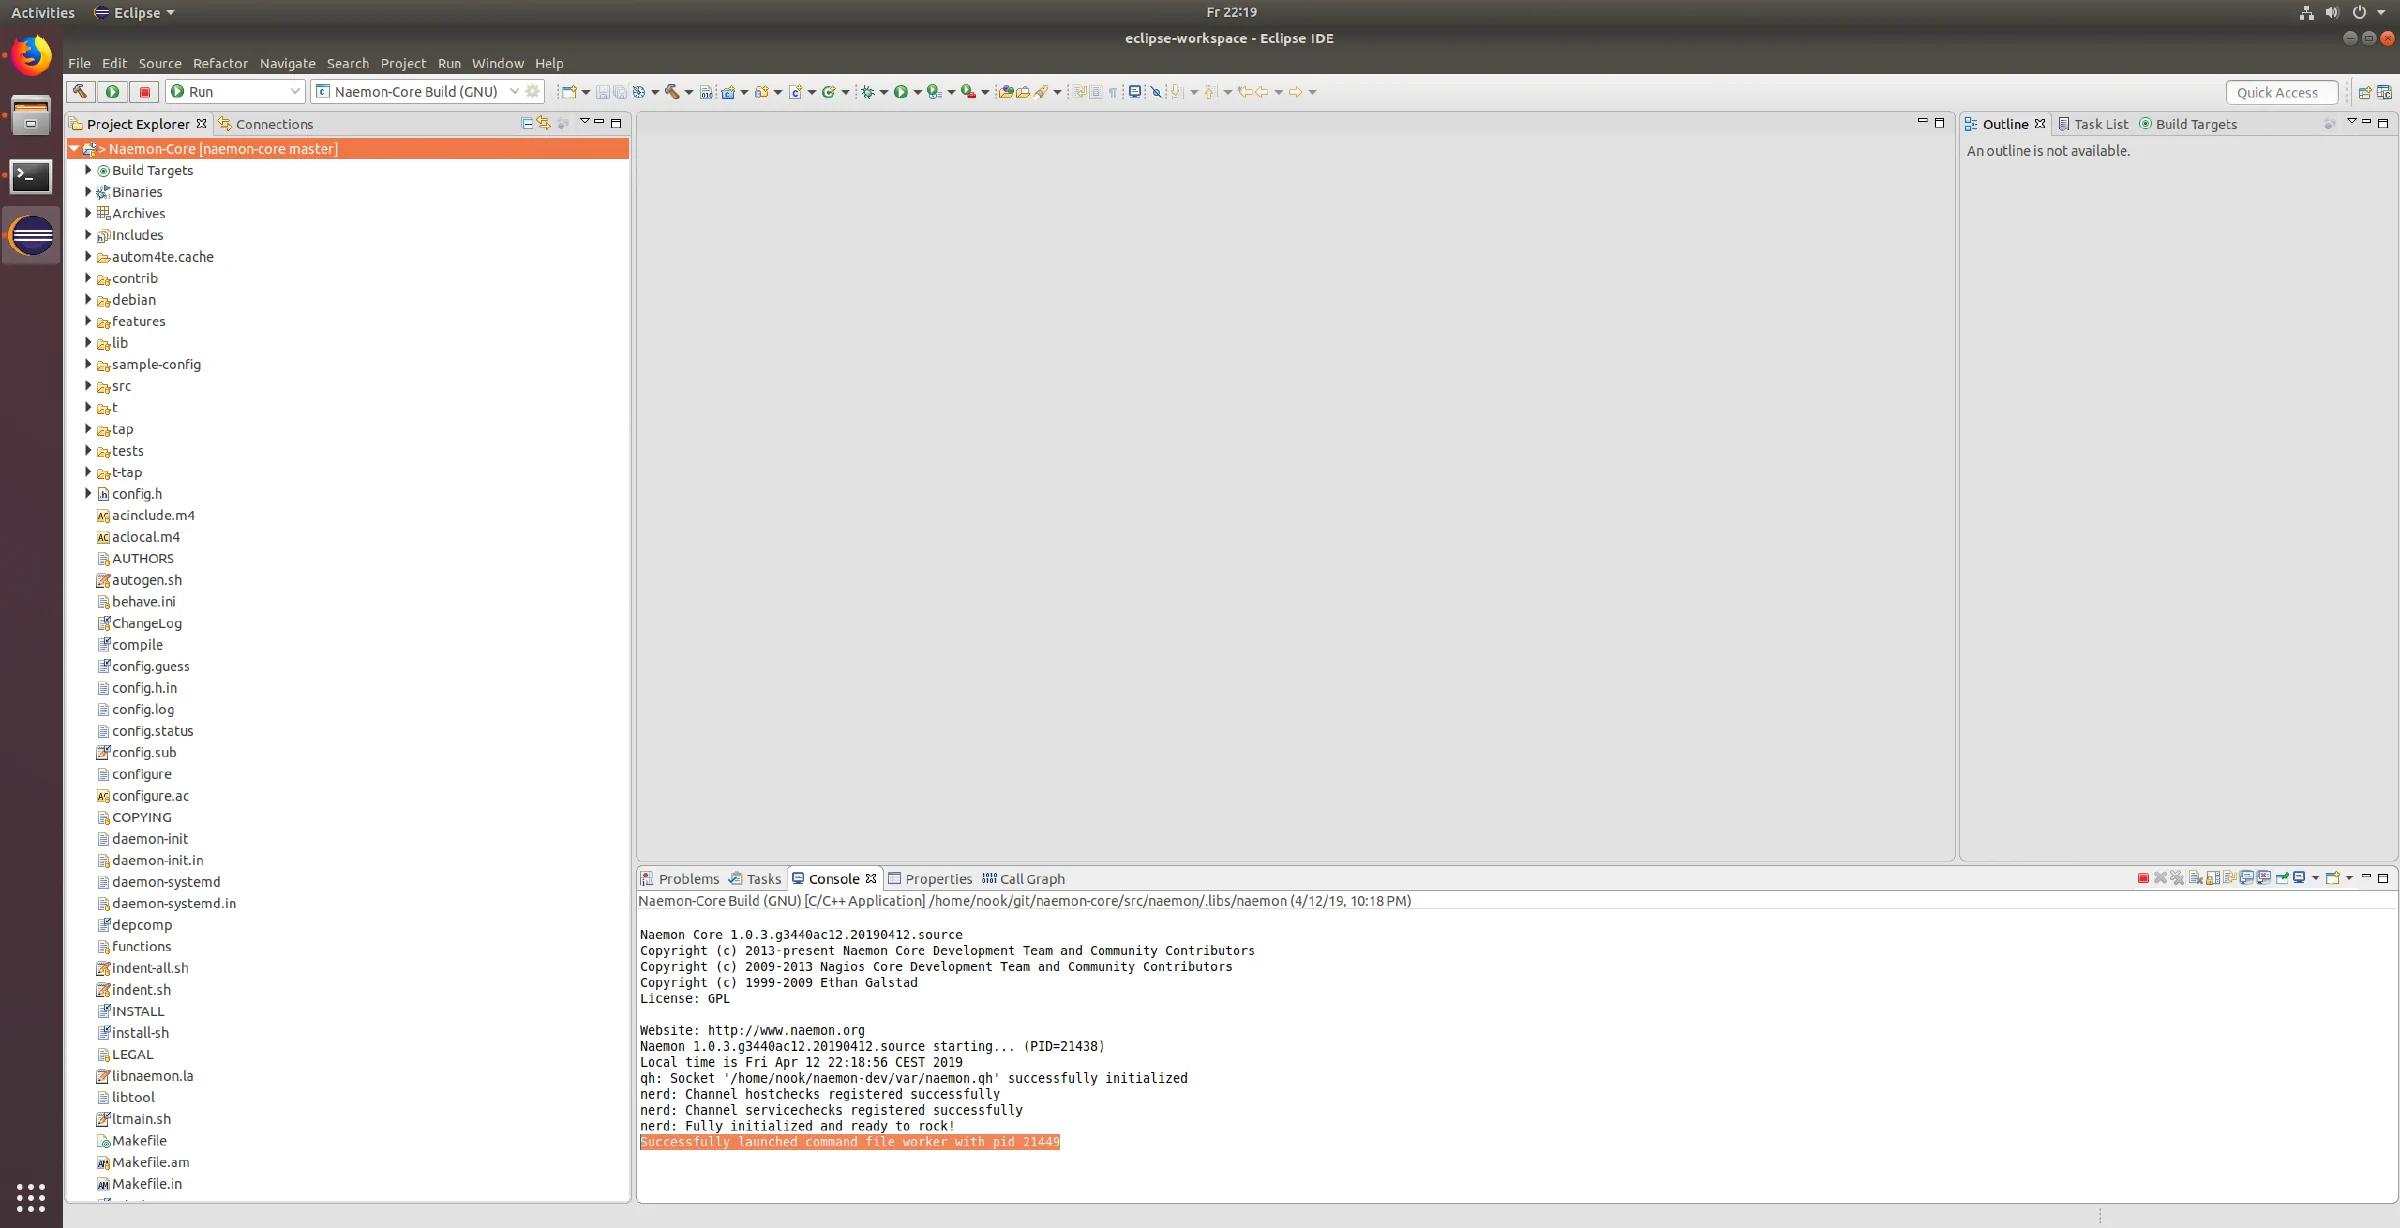
Press Stop to kill the process.
Attach the debugger
Open the Debug Configurations.
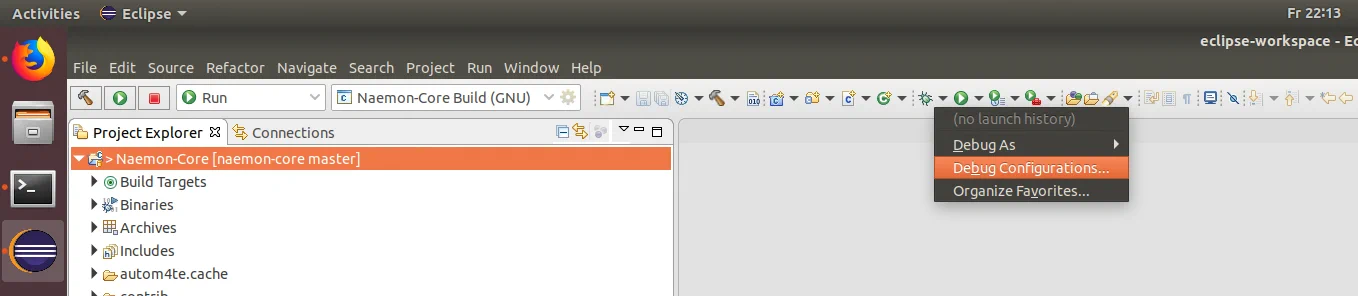
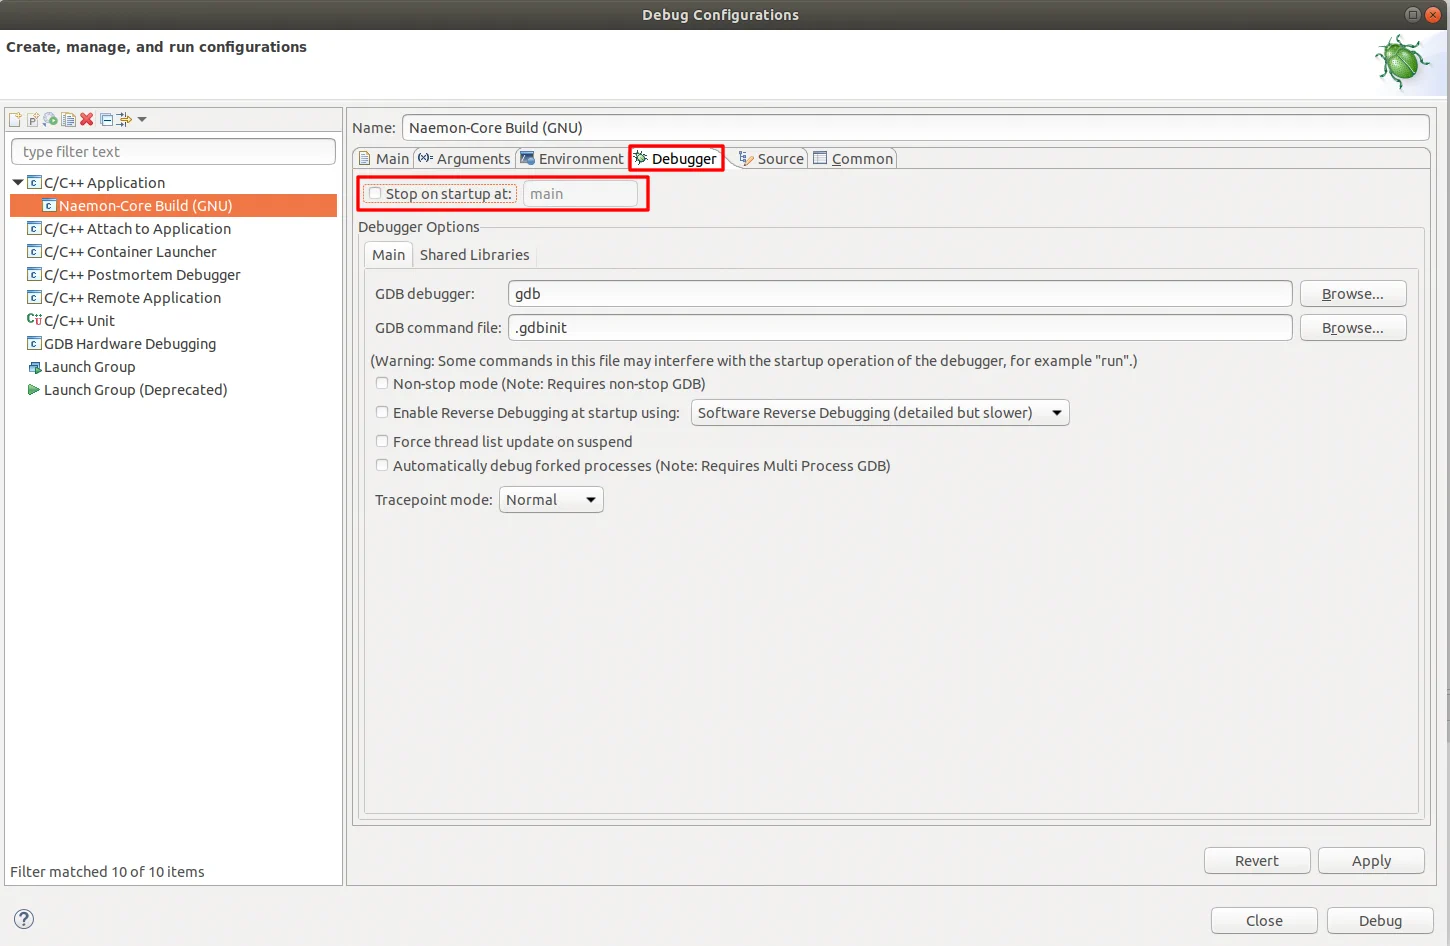
Under C/C++ Application → Naemon-Core Build → Debugger, turn off Stop on startup at: main, then apply and close.
Run with the debugger attached
Open a source file — src/naemon/checks_service.c is a good one — and set a
breakpoint by double-clicking a line number. Then start Naemon under the
debugger.
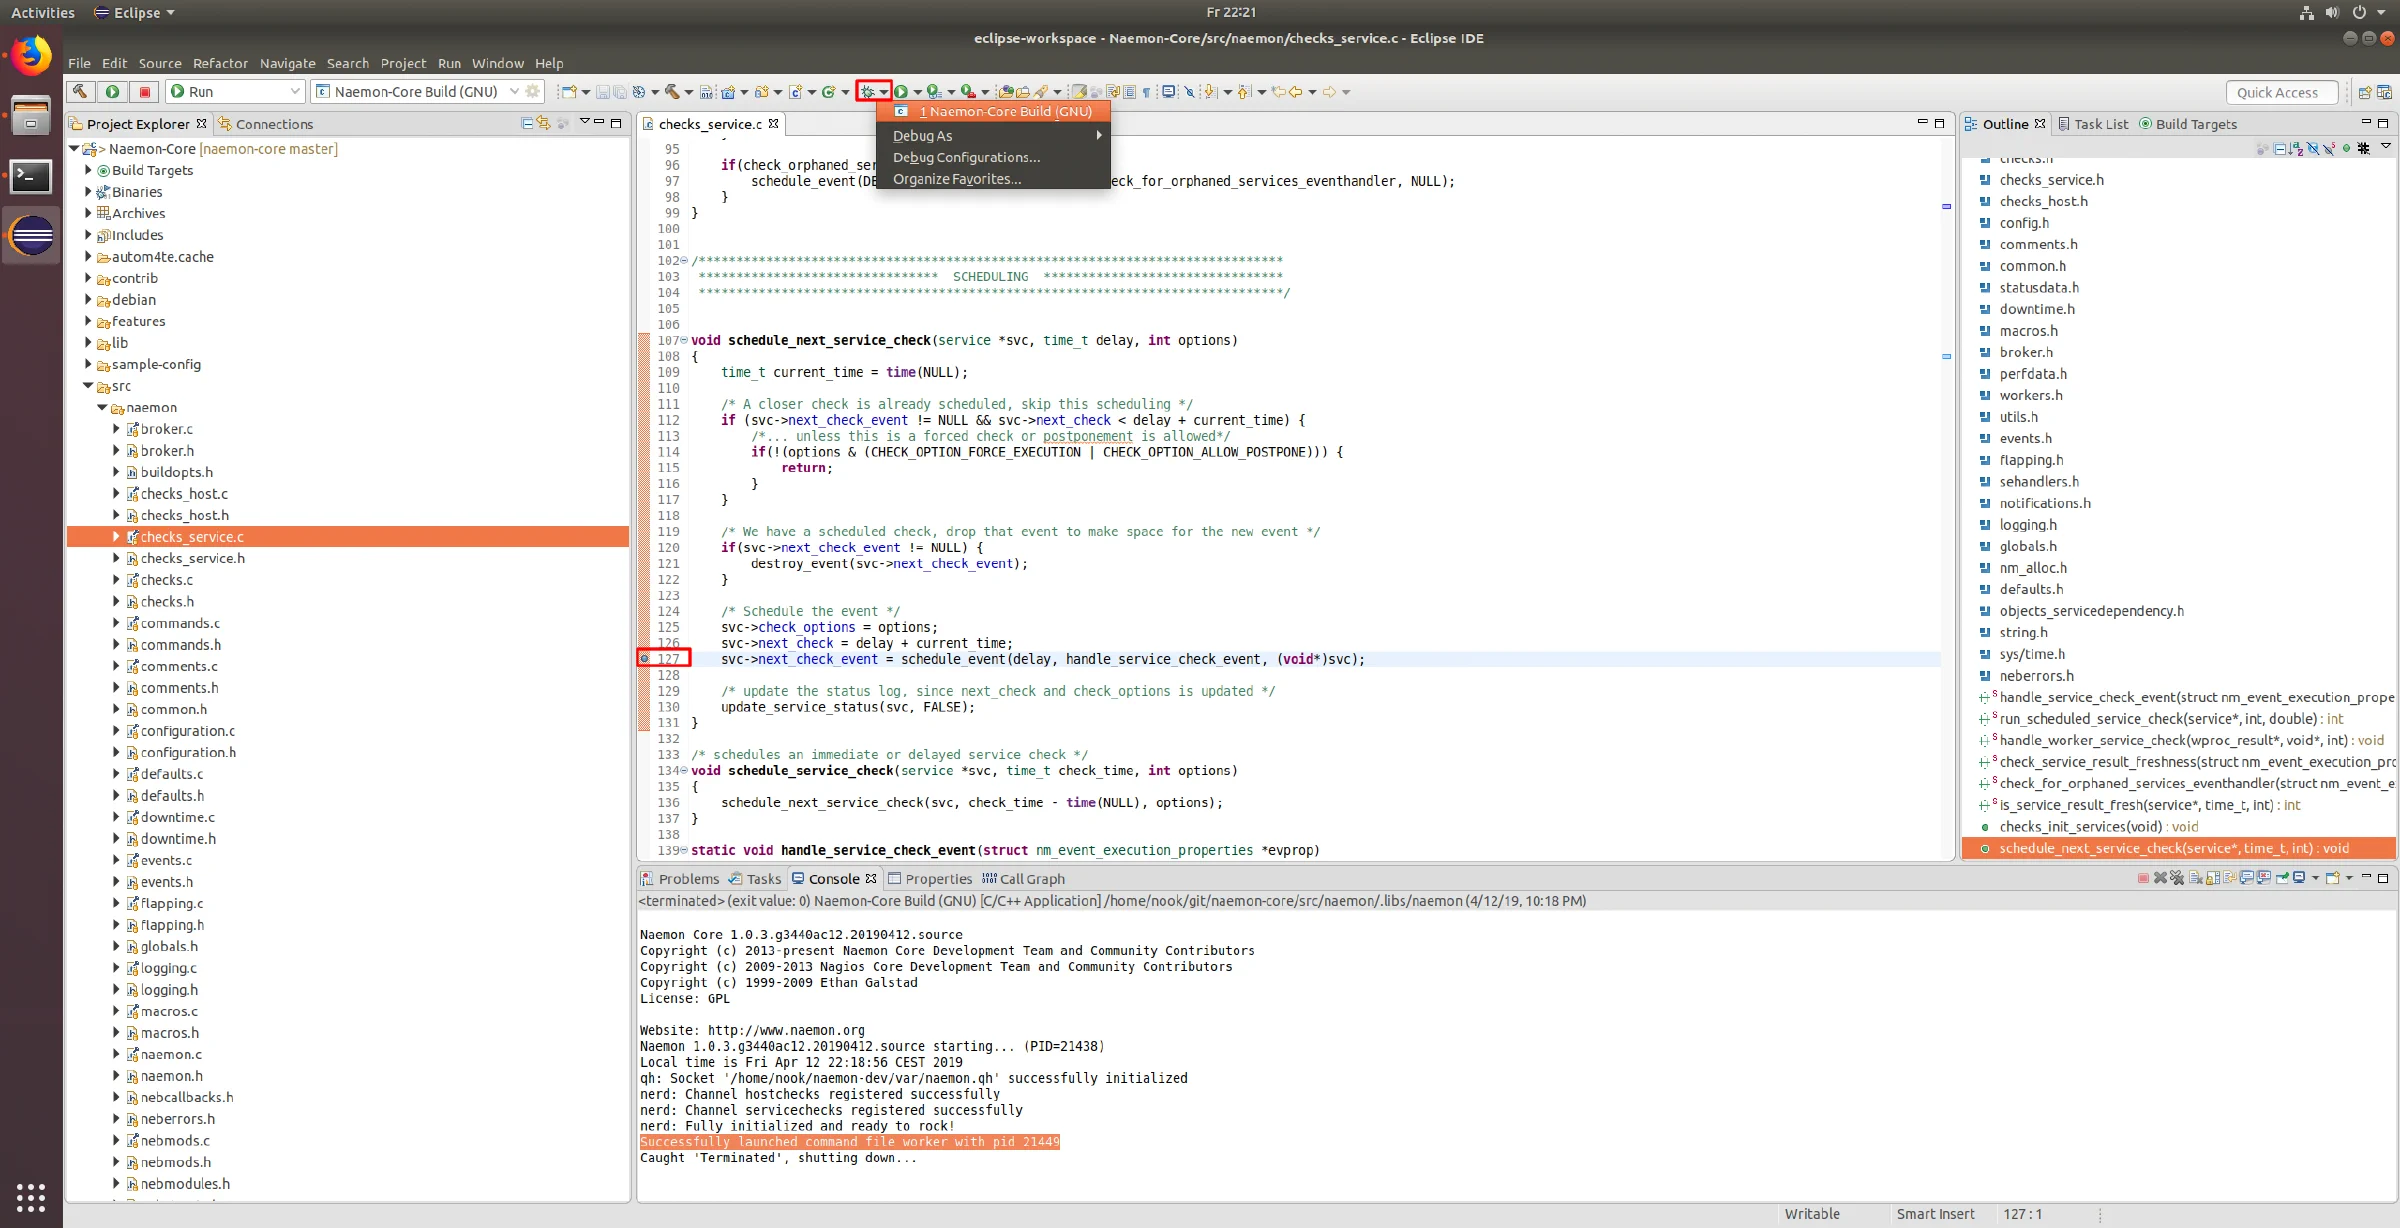
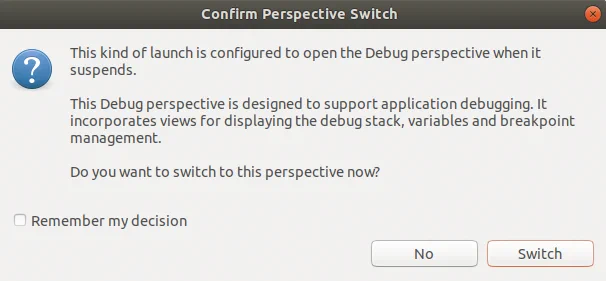
Switch to the debug perspective when Eclipse offers.
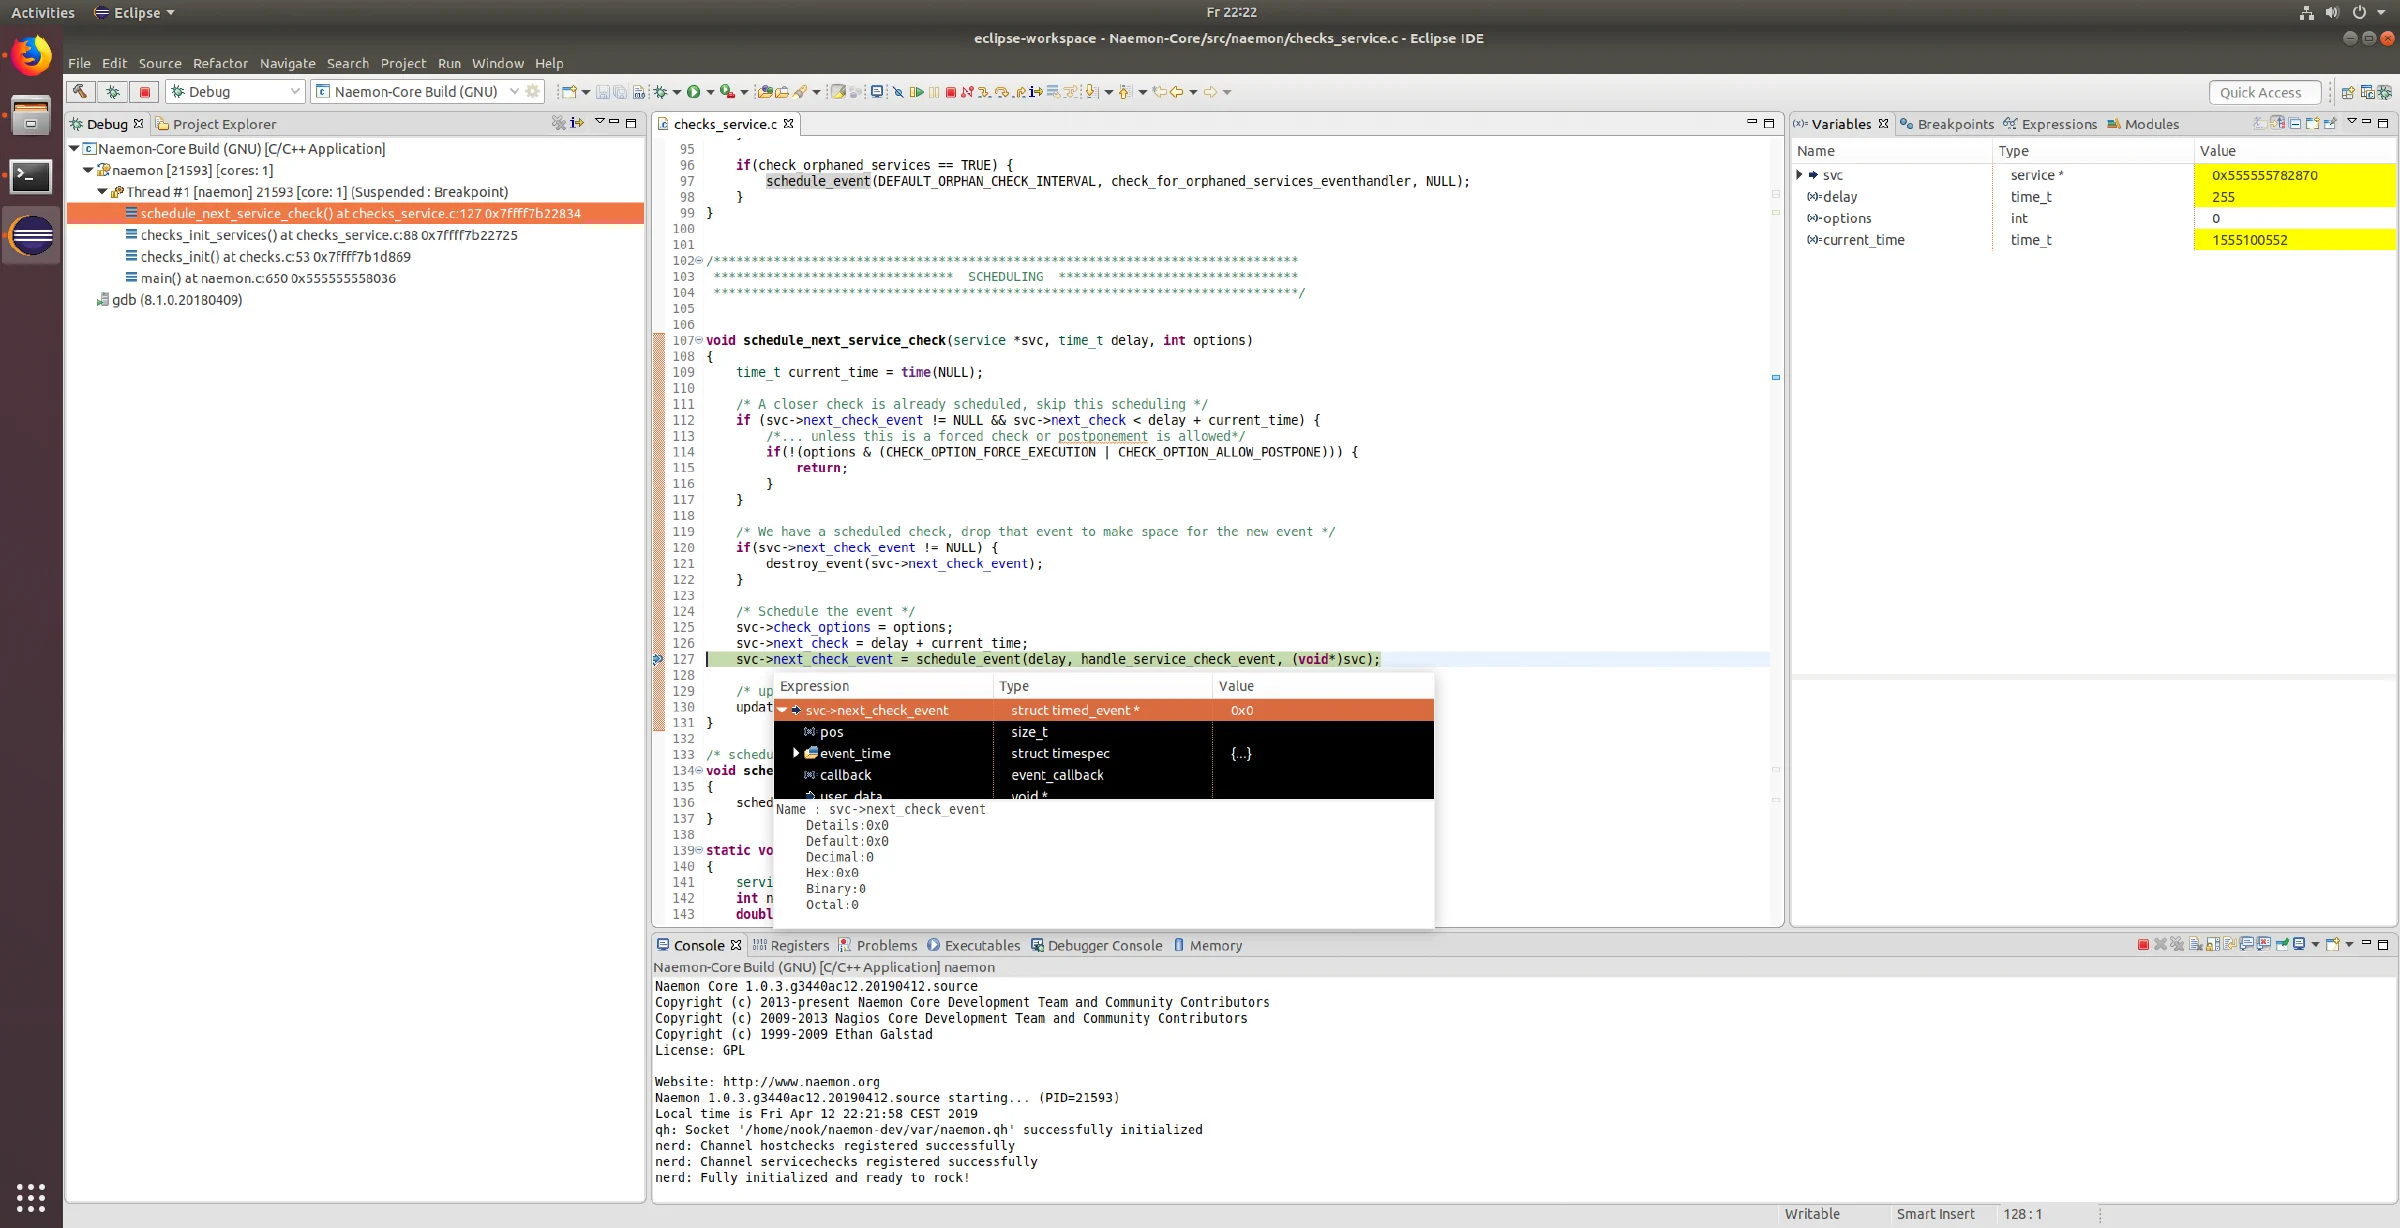
Once execution reaches the breakpoint you can step through as usual.
Set up Valgrind
Valgrind finds memory leaks and can run from inside Eclipse. Go to
Project → Properties → Run/Debug Settings → New → Profile With Valgrind,
click Search Project and pick the naemon binary.
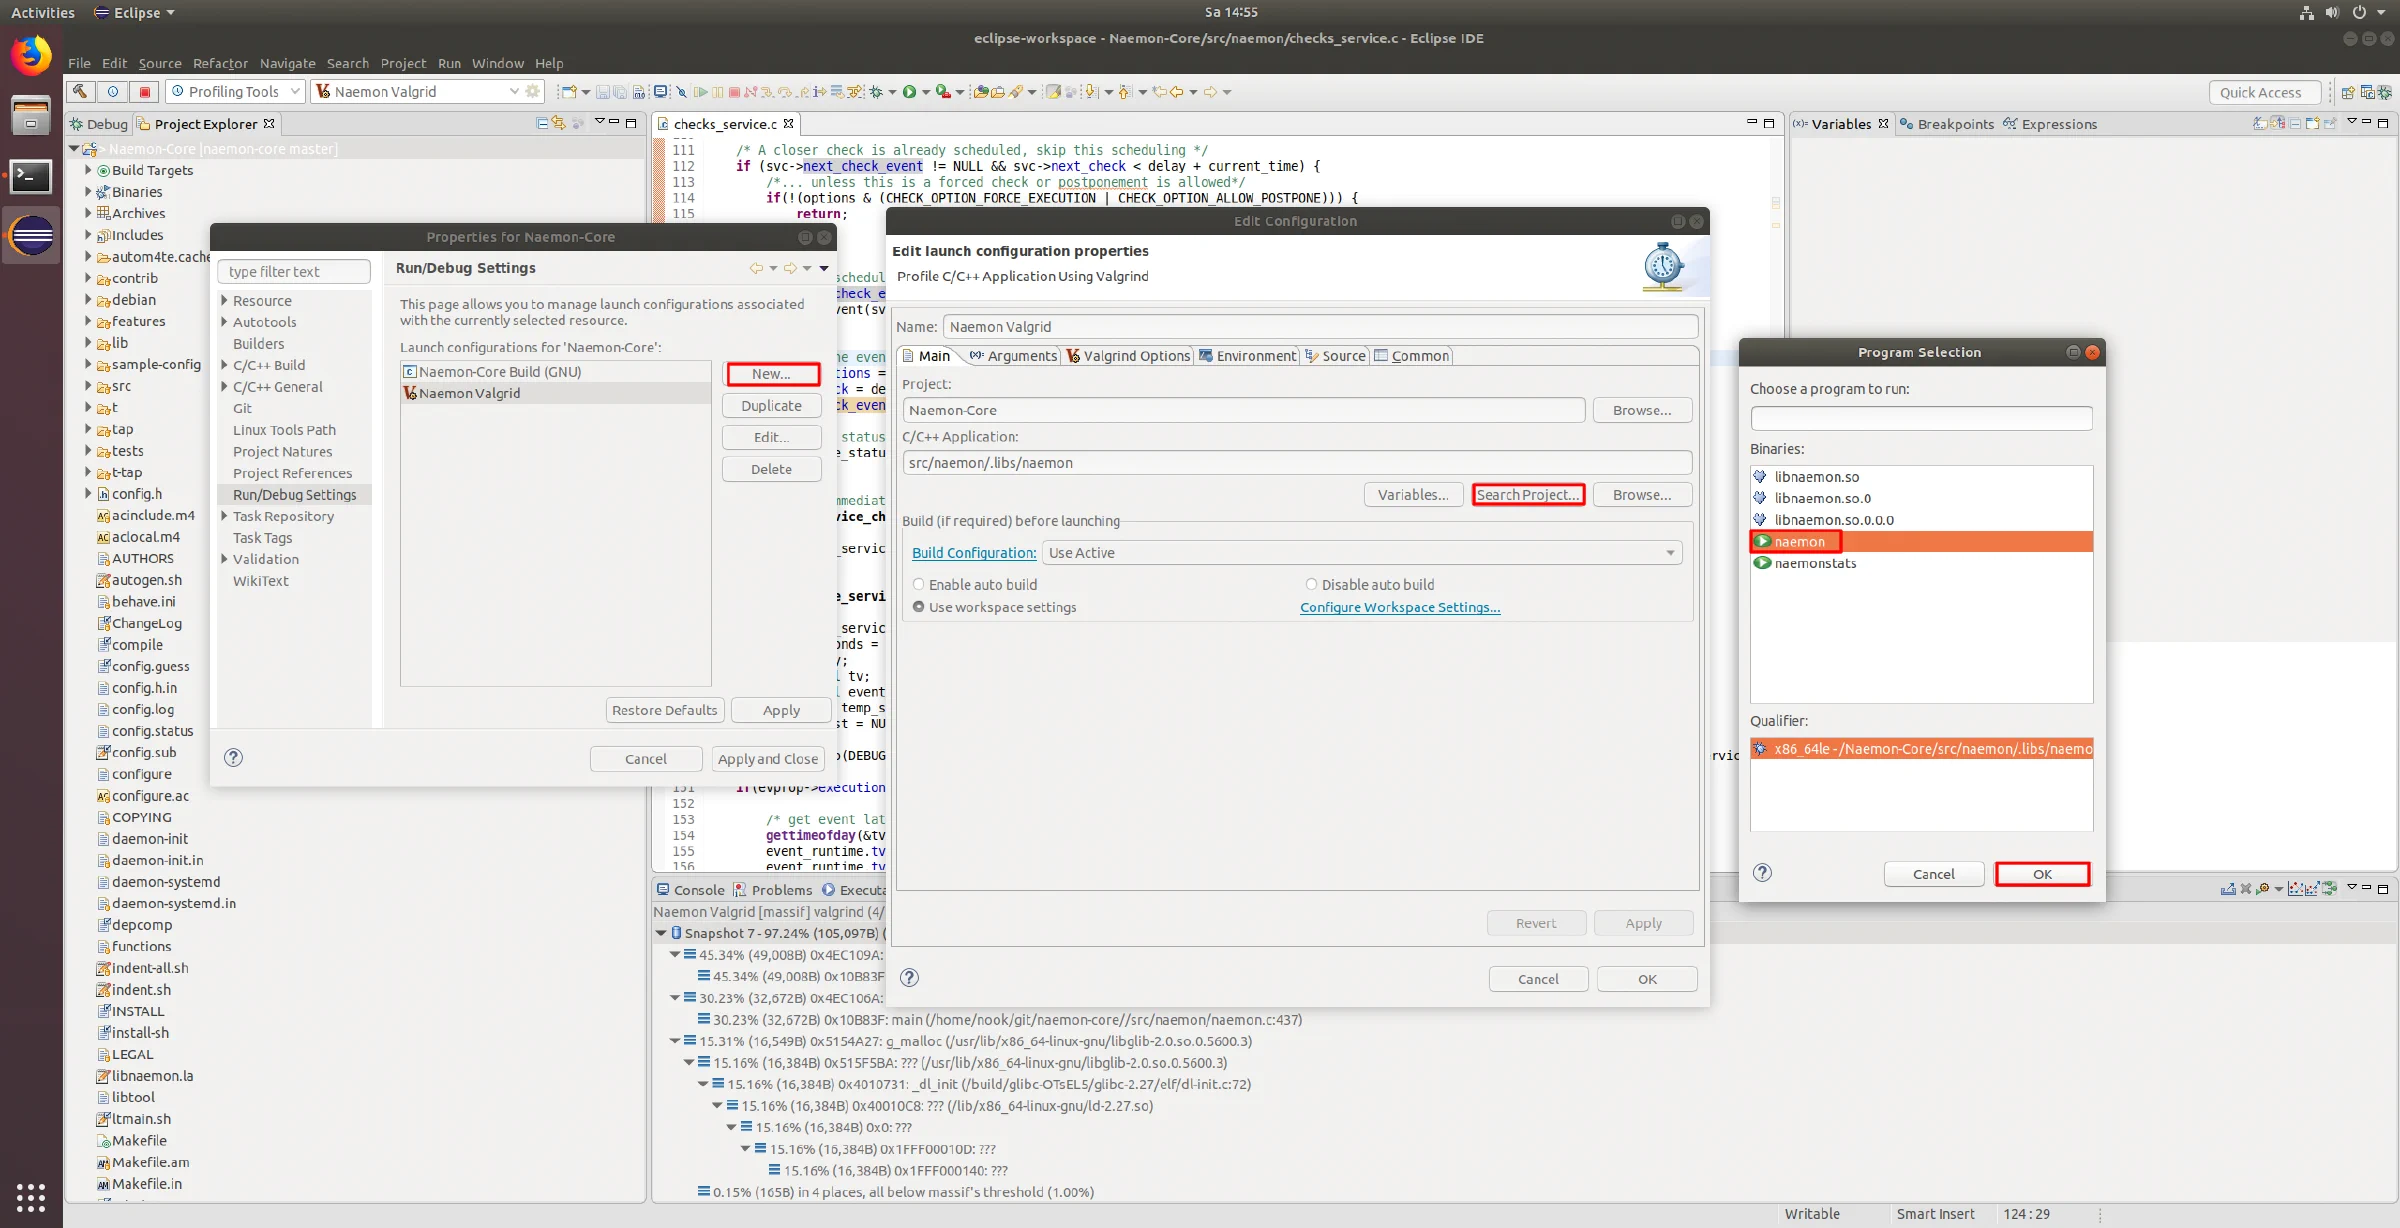
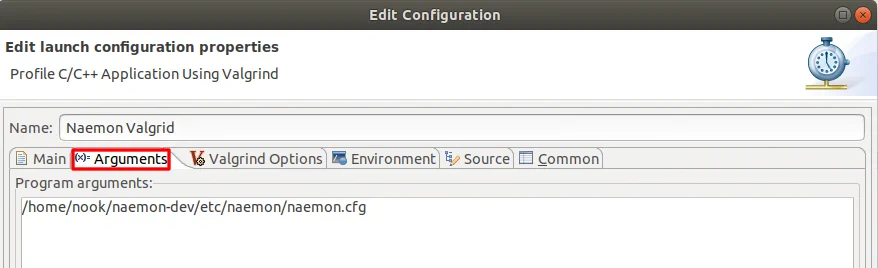
On the Arguments tab, pass
/home/<your user>/naemon-dev/etc/naemon/naemon.cfg again.
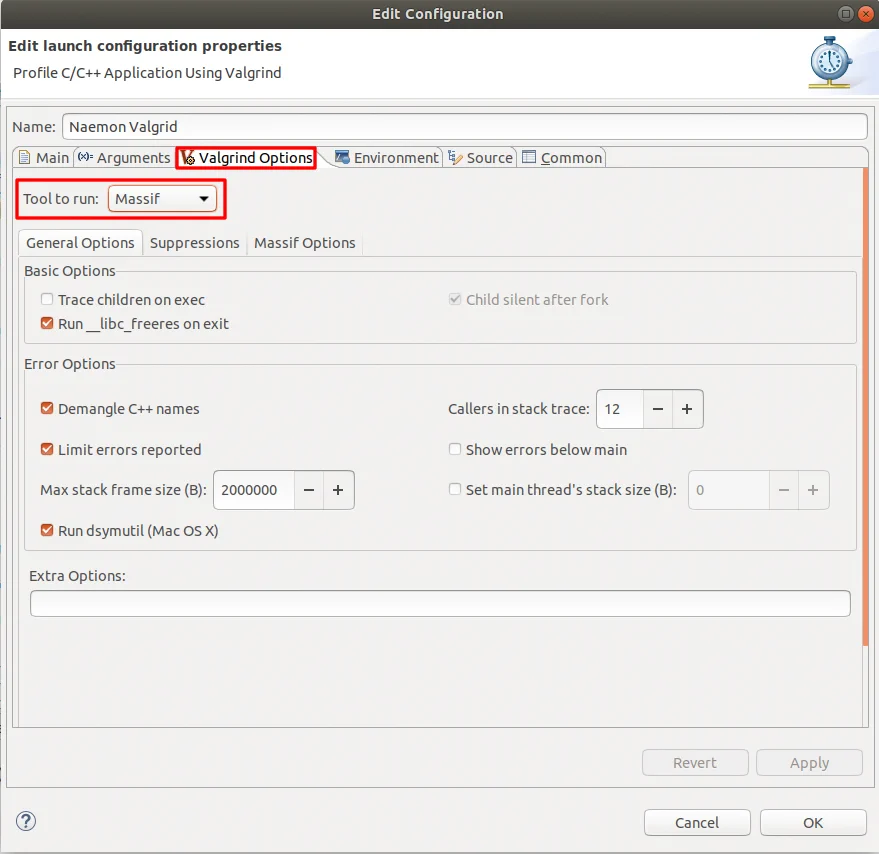
On the Valgrind Options tab, pick a tool — Valgrind offers several ; Massif is the one used here.
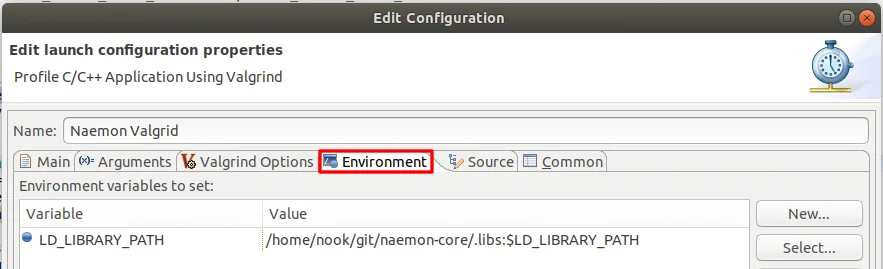
Set the same LD_LIBRARY_PATH on the Environment tab.
Run Naemon through Valgrind
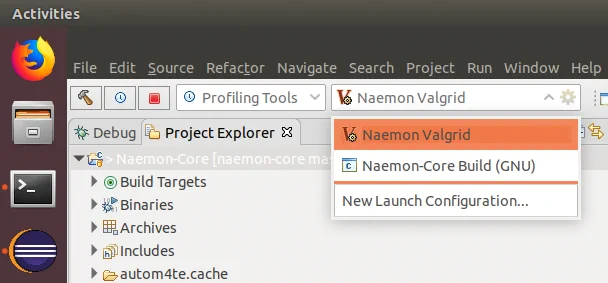
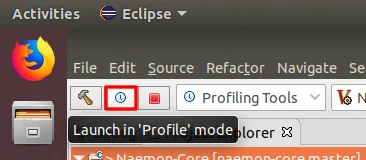
Switch the launch configuration to Naemon Valgrind and launch in profile mode.
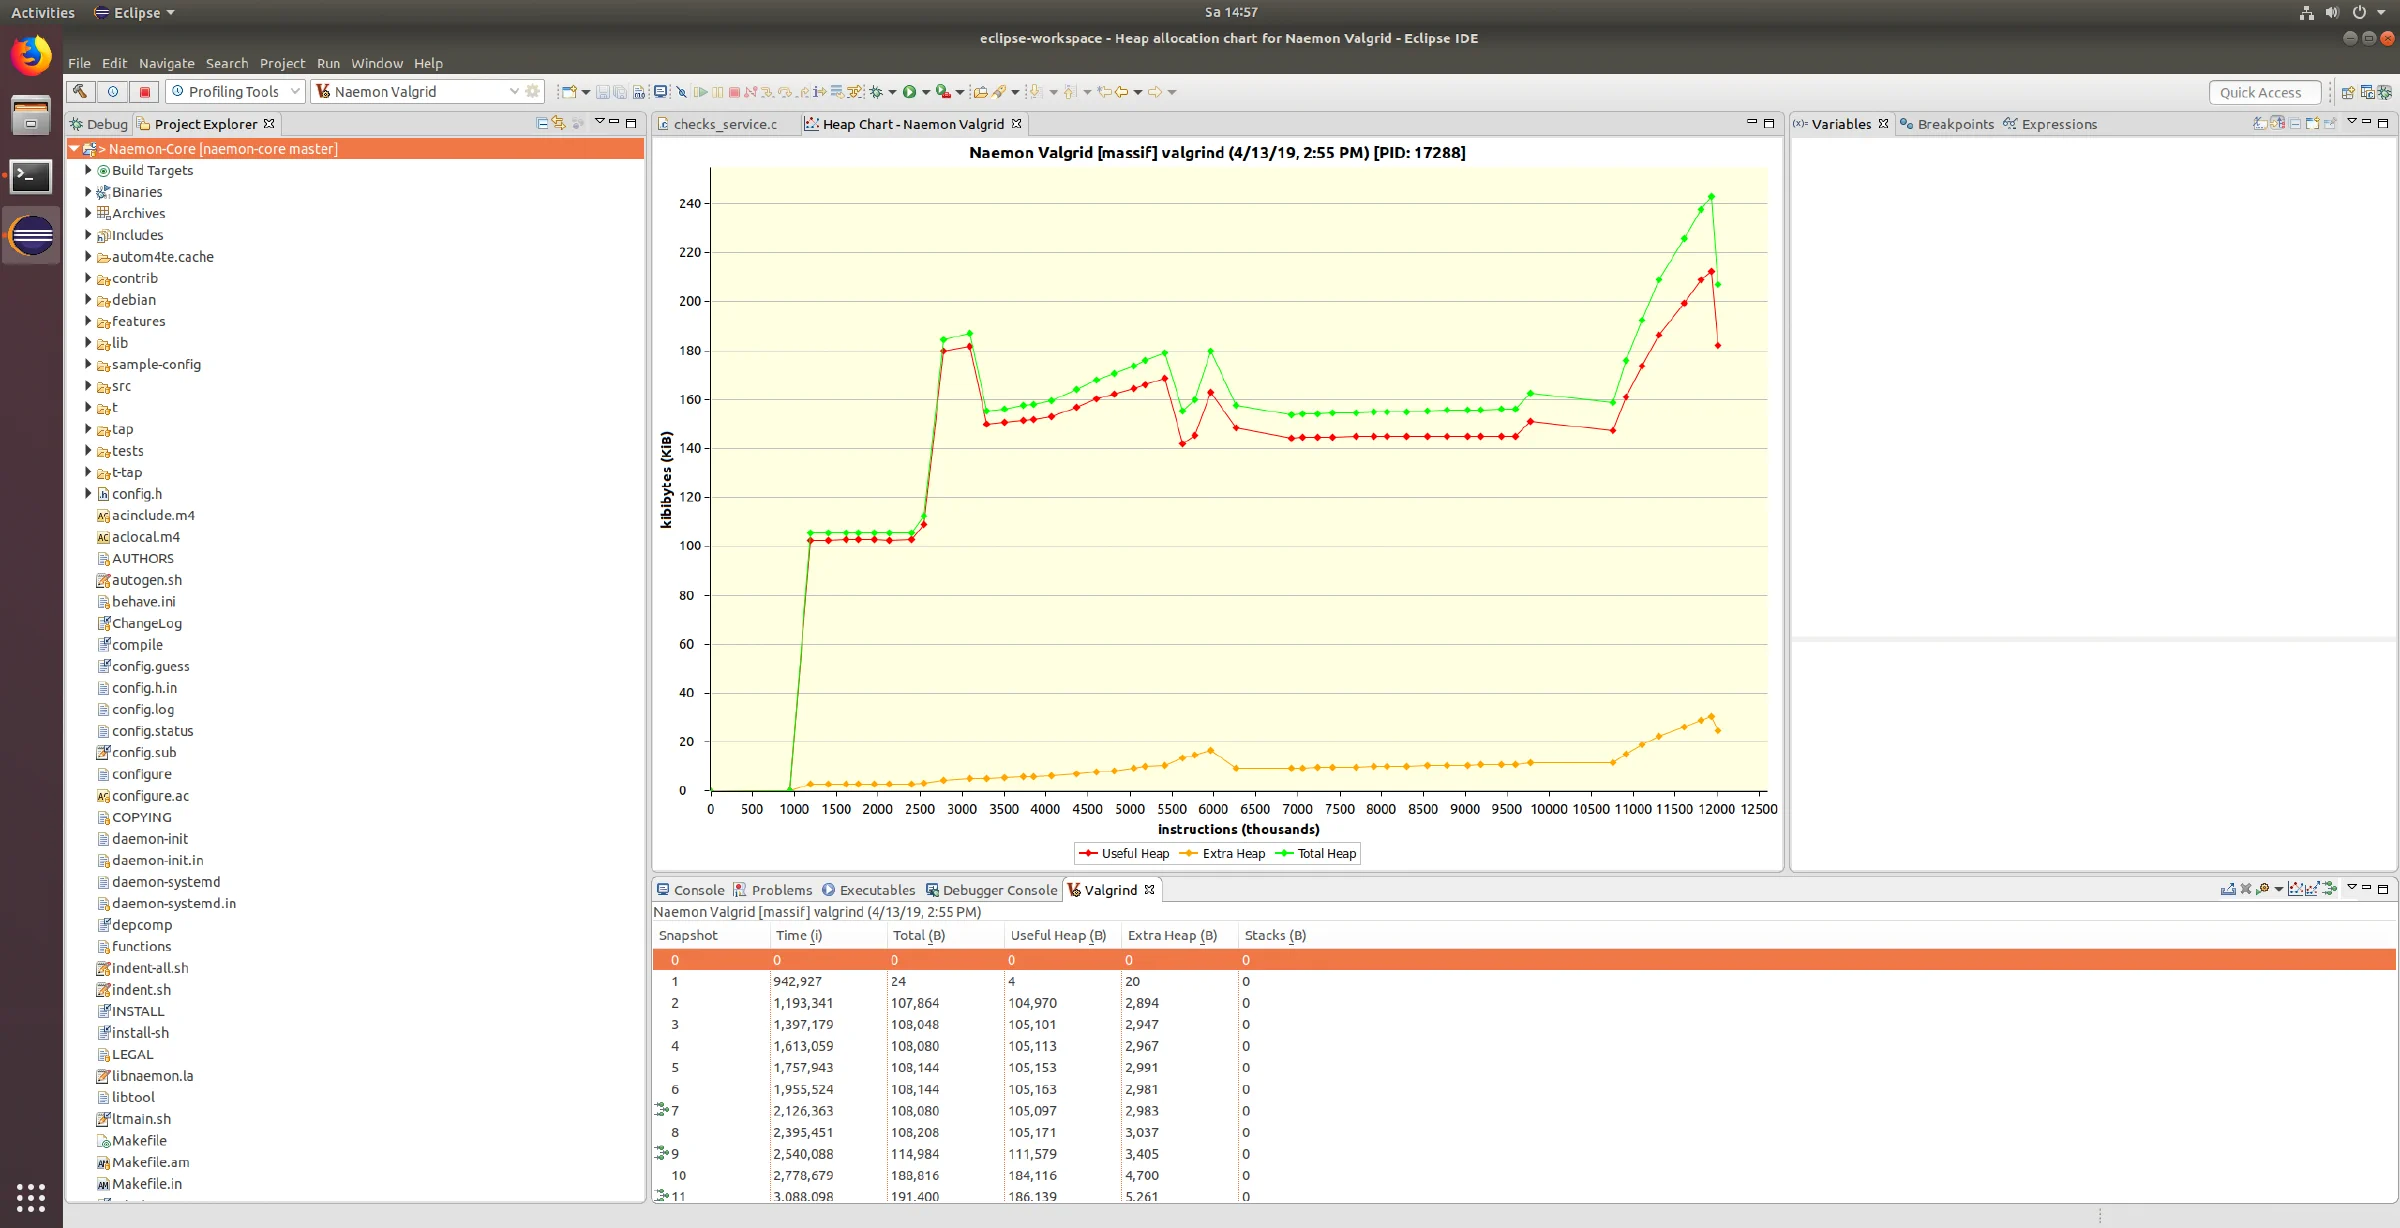
Let it run for a few minutes. When you stop Naemon you get a heap allocation chart.
Happy hacking!