Statusengine UI
Statusengine 3.x — no longer maintained. Statusengine UI is a PHP and AngularJS web interface that reads the database written by the 3.x PHP worker . It is not part of Statusengine 4, and the Go worker does not serve it. Use this page if you are running an existing installation.
For a new installation, the interface to install is the Statusengine Web Interface : a single binary, no PHP, and it reads what the Go worker writes.
Overview
Statusengine UI is a lightweight, responsive web interface you can use to make your monitoring data visible.
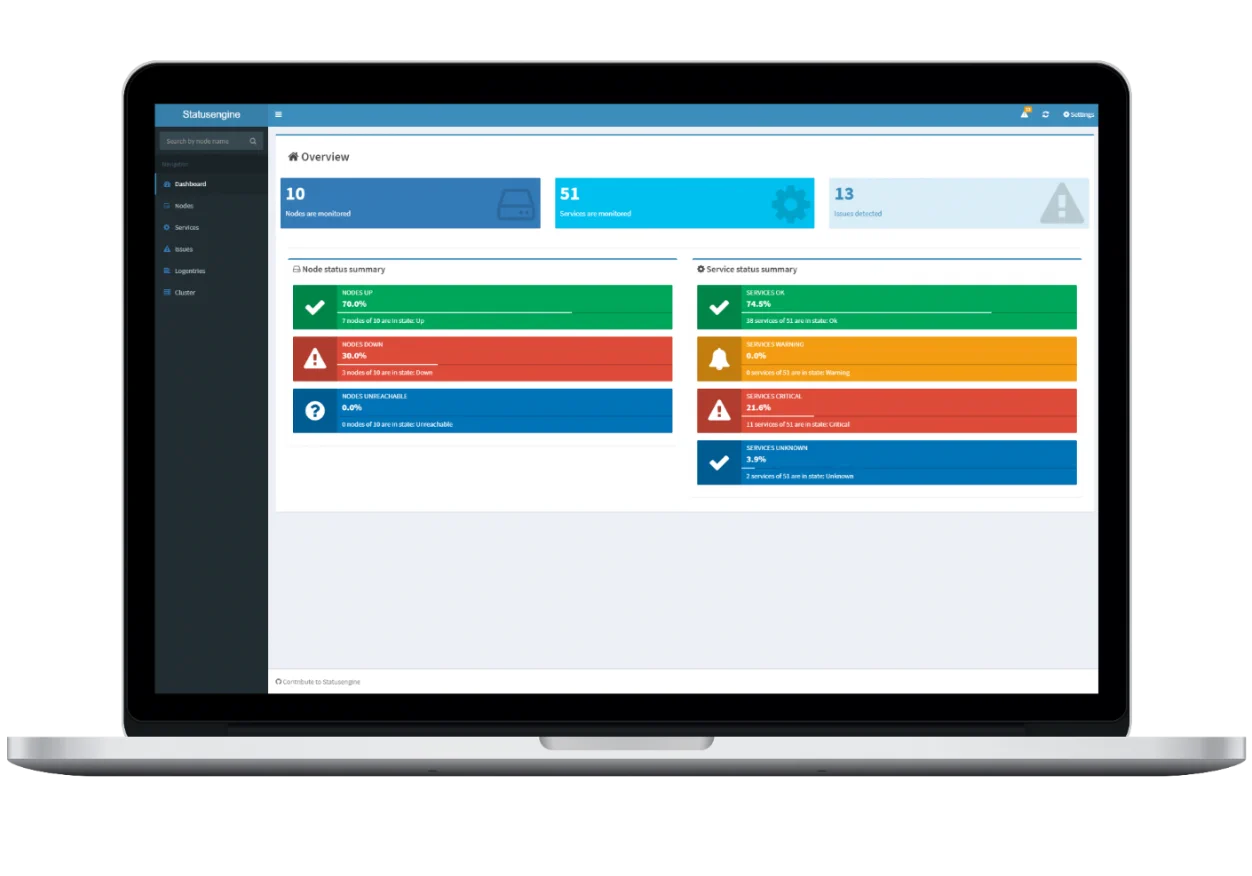
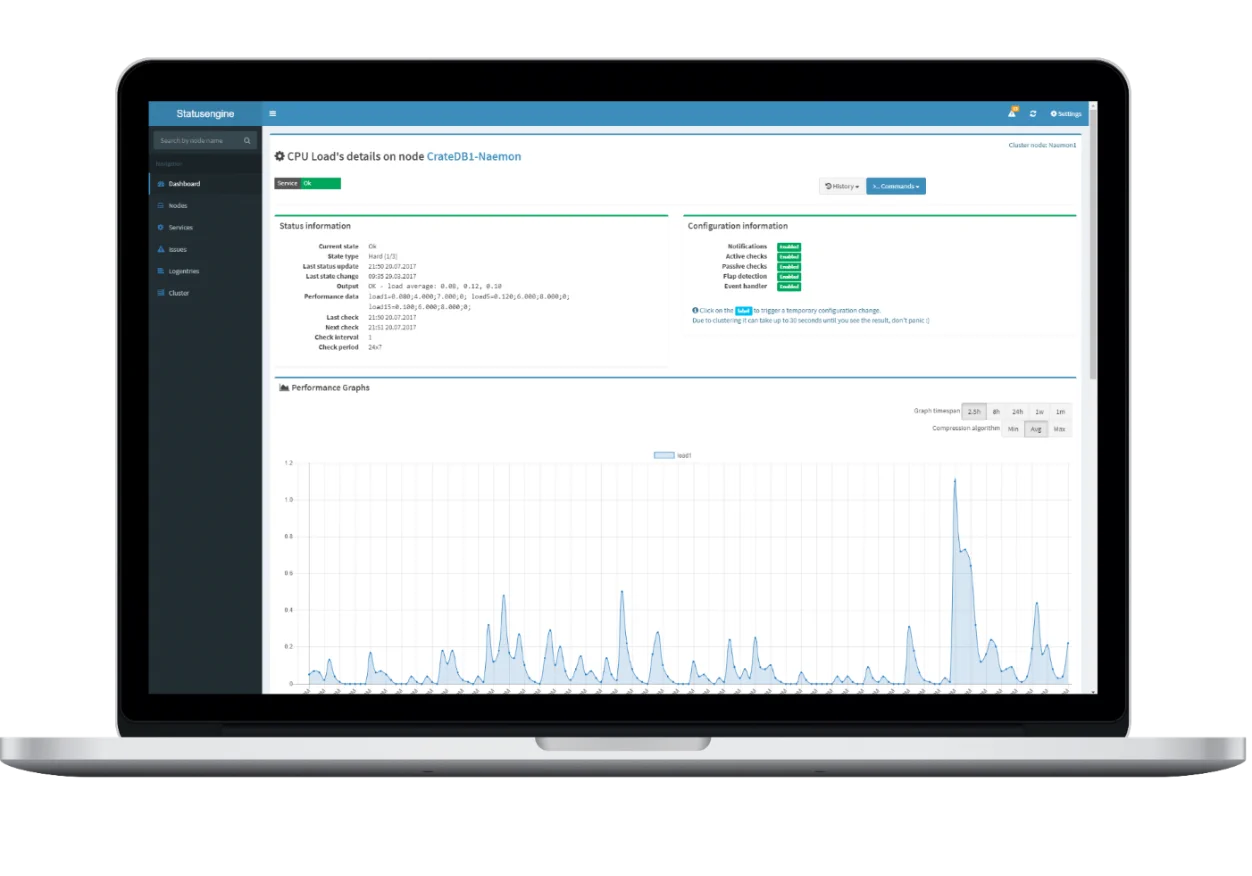
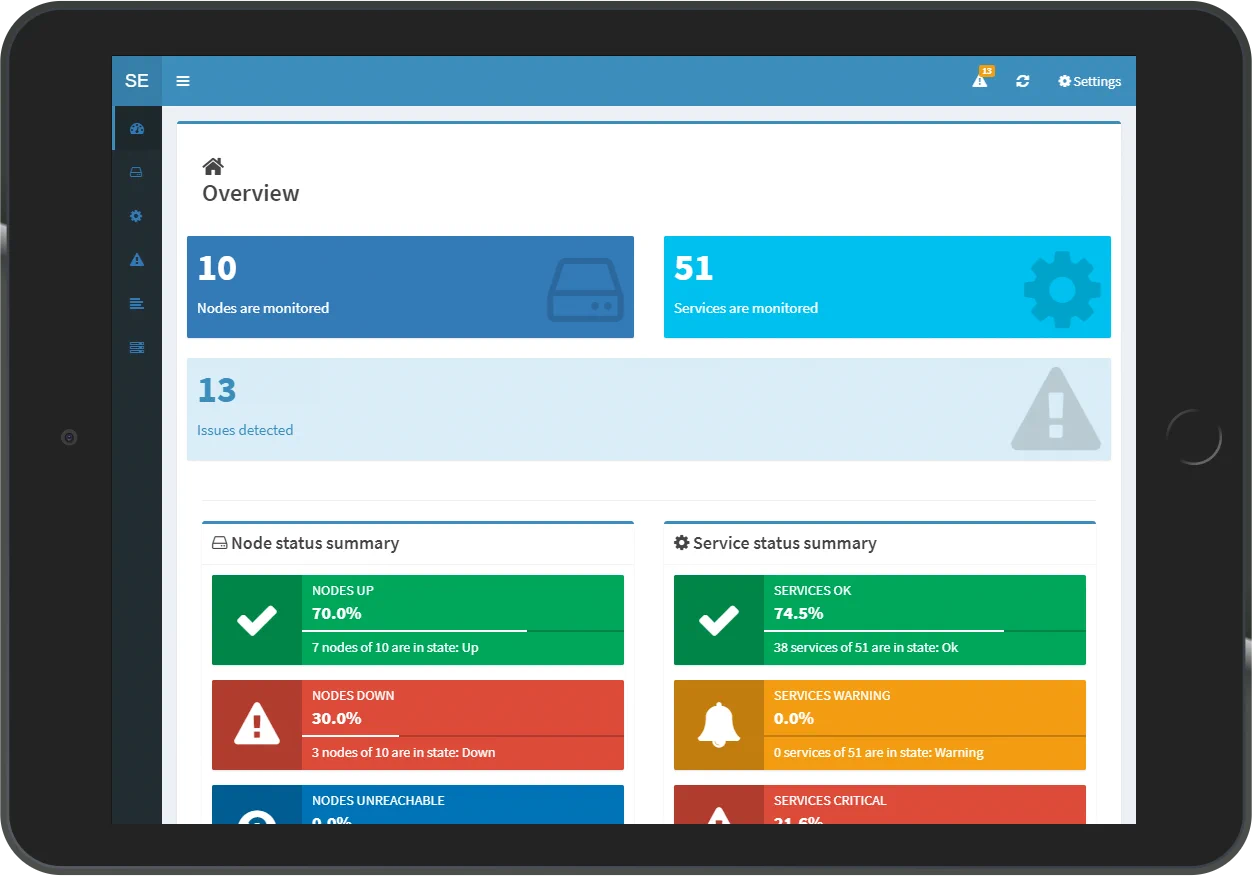
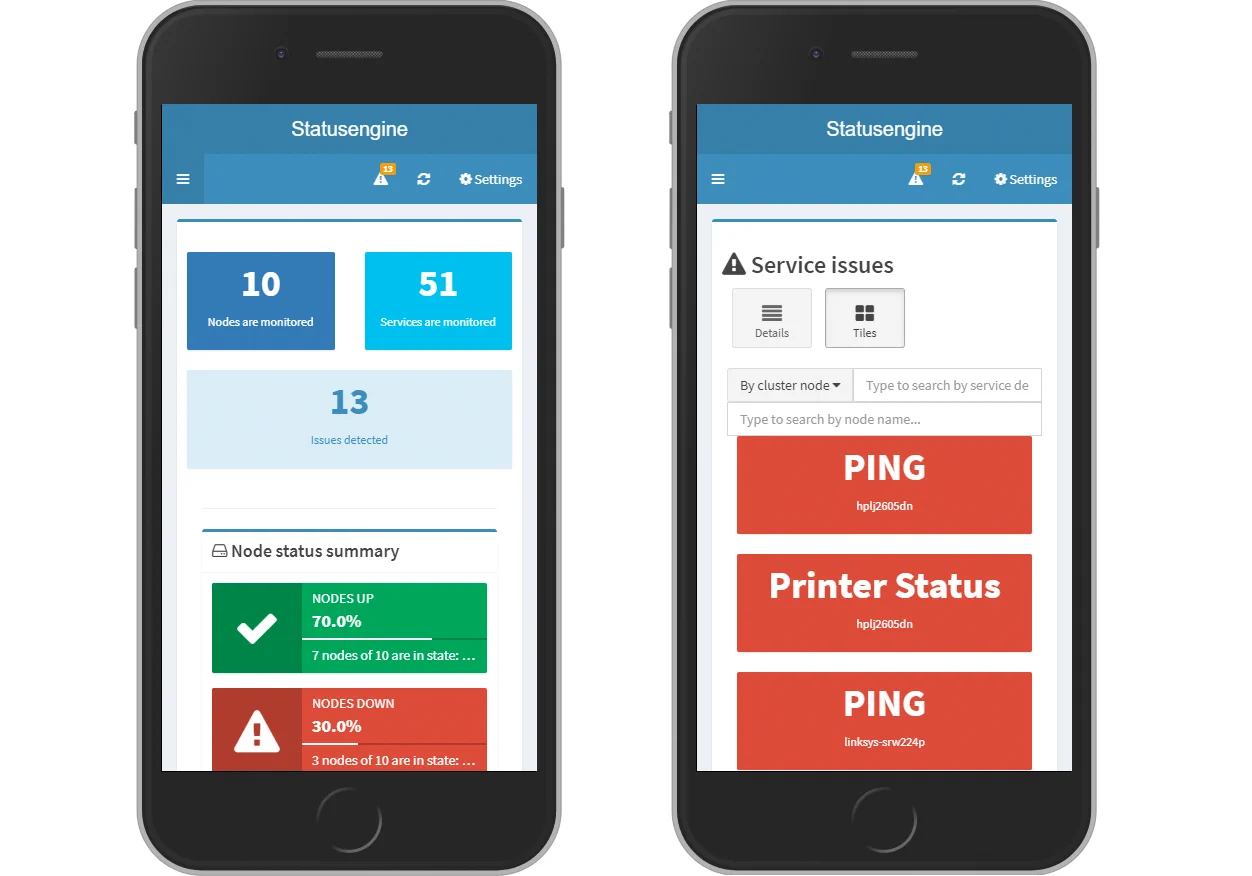
Visit the Statusengine UI demo
Features
- Mobile friendly
- Big screen friendly
- Dark mode
- Auto refresh
- Based on a JSON API
- Graphs rendered through Chart.js
- Basic user management
- LDAP authentication
- Multiple monitoring nodes in one interface
- Anonymous/guest mode
- Lightweight
- Long plugin output
- External commands (schedule downtime, acknowledge issue, and so on)
Installation
Pick your operating system below. If yours is not listed, choose the version that matches it most closely.
1. Install dependencies
apt-get install git php-cli php-zip php-mysql php-ldap php-jsonapt-get install git php-cli php-zip php-mysql php-ldap php-jsonapt-get install git php-cli php-zip php-mysql php-ldapapt-get install git php5-cli php5-mysql php5-ldapFirst load the EPEL repository for PHP 7.2:
yum install epel-release
yum install http://rpms.remirepo.net/enterprise/remi-release-7.rpm
yum check-update
yum install yum-utils
yum-config-manager --enable remi-php72
Then install the dependencies:
yum install git php-cli php-mysql php-ldapFirst load the EPEL repository for PHP 7.3:
yum install epel-release
yum install http://rpms.remirepo.net/enterprise/remi-release-8.rpm
yum check-update

dnf module reset php
dnf module install php:remi-7.3
Then install the dependencies:
yum install git php-cli php-mysql php-ldap2. Download and install
cd /usr/share/
git clone -b 3.x-master https://github.com/statusengine/interface.git statusengine-ui
cd /usr/share/statusengine-ui
chmod +x bin/*
composer install-b 3.x-master. That repository also holds the
Statusengine Web Interface
, a different application
that arrives on main. The PHP and AngularJS interface this page describes
lives on
3.x-master
,
which is where fixes to it would go.Configuration
The Statusengine UI config file has a lot of options you may not need, so this is stripped down to the basics you have to change.
Statusengine UI can also be configured through environment variables , which is handy inside Docker.
If you are going to use CrateDB you can ignore all MySQL settings, and vice versa.
Copy the example configuration:
cp /usr/share/statusengine-ui/etc/config.yml.example /usr/share/statusengine-ui/etc/config.yml| Option | Description |
|---|---|
auth_type | Whether to use Statusengine UI basic authentication or LDAP for SSO. |
use_mysql | Set to 1 to enable the MySQL backend. |
mysql → username | The user Statusengine UI will use to connect to the MySQL server. |
mysql → password | The password of the given MySQL user. |
mysql → database | Name of the MySQL database. |
use_crate | Set to 1 to enable the CrateDB backend. |
crate → nodes | An array of IP addresses of CrateDB instances. Put a load balancer in front of the cluster and add only its address. |
First user
If you are using Statusengine basic auth, you need to create a user first. This is done through the Statusengine UI console:
/usr/share/statusengine-ui/bin/Console.php users add --username "admin" --password "admin"Read more in the Manage users section.
HTTPS
All example configurations use HTTPS, with an automatic redirect from http://
to https://.
To get a working self-signed certificate, install:
apt-get install ssl-certCreate a new self-signed SSL certificate:
mkdir /etc/ssl/private
openssl req -x509 -nodes -days 365 -newkey rsa:2048 -keyout /etc/ssl/private/ssl-cert-snakeoil.key -out /etc/ssl/certs/ssl-cert-snakeoil.pem

openssl dhparam -out /etc/ssl/certs/dhparam.pem 2048
cat /etc/ssl/certs/dhparam.pem | tee -a /etc/ssl/certs/ssl-cert-snakeoil.pem
Apache Example Config
In this example the web server listens on the address 192.168.56.101, and we
create a virtual host for the subdomain statusengine.example.org.
apt-get install apache2 libapache2-mod-phpThe configuration goes to /etc/apache2/sites-available/statusengine-ui.conf.
apt-get install apache2 libapache2-mod-phpOn Ubuntu 14.04 use libapache2-mod-php5 instead. The configuration goes to
/etc/apache2/sites-available/statusengine-ui.conf.
yum install httpd mod_ssl php
systemctl enable httpd
mkdir -p /var/log/apache2
The configuration goes to /etc/httpd/conf.d/statusengine-ui.conf.
<VirtualHost 192.168.56.101:80>
    ServerName statusengine.example.org

    RewriteEngine On
    RewriteCond %{HTTPS} off
    RewriteRule (.*) https://%{SERVER_NAME}/$1 [R,L]

    DocumentRoot "/usr/share/statusengine-ui/public/"

    RedirectMatch 404 /\.git

    ErrorLog "/var/log/apache2/statusengine-ui-error.log"
    CustomLog "/var/log/apache2/statusengine-ui-access.log" combined
</VirtualHost>

<VirtualHost 192.168.56.101:443>
    ServerName statusengine.example.org

    RedirectMatch 404 /\.git

    DocumentRoot "/usr/share/statusengine-ui/public/"

    SSLEngine On
    SSLCertificateFile    /etc/ssl/certs/ssl-cert-snakeoil.pem
    SSLCertificateKeyFile /etc/ssl/private/ssl-cert-snakeoil.key

    ErrorLog "/var/log/apache2/statusengine-ui-error.log"
    CustomLog "/var/log/apache2/statusengine-ui-access.log" combined
</VirtualHost>
Now enable the configuration and restart the web server.
a2ensite statusengine-ui
a2enmod rewrite
a2enmod ssl

systemctl restart apache2.service
On Ubuntu 16.04 and 14.04, use service apache2 restart instead.
Remove the default configuration and restart the web server:
rm /etc/httpd/conf.d/welcome.conf

mkdir /var/log/apache2

echo "LoadModule rewrite_module modules/mod_rewrite.so" >> /etc/httpd/conf.modules.d/00-base.conf

echo "<Directory /usr/share/statusengine-ui/public>" >> /etc/httpd/conf.d/statusengine-ui.conf
echo "  Require all granted" >> /etc/httpd/conf.d/statusengine-ui.conf
echo "</Directory>" >> /etc/httpd/conf.d/statusengine-ui.conf

systemctl restart httpd
Nginx Example Config
In this example the web server listens on the address 192.168.56.101, and we
create a virtual host for the subdomain statusengine.example.org.
apt-get install nginx php-fpmphp-fpm pool config: /etc/php/7.4/fpm/pool.d/www.conf · restart with
systemctl restart php7.4-fpm · site config goes to
/etc/nginx/sites-available/statusengine-ui.
apt-get install nginx php-fpmphp-fpm pool config: /etc/php/7.2/fpm/pool.d/www.conf · restart with
systemctl restart php7.2-fpm · site config goes to
/etc/nginx/sites-available/statusengine-ui.
apt-get install nginx php-fpmphp-fpm pool config: /etc/php/7.0/fpm/pool.d/www.conf · restart with
service php7.0-fpm restart · site config goes to
/etc/nginx/sites-available/statusengine-ui.
apt-get install nginx php5-fpmphp-fpm pool config: /etc/php5/fpm/pool.d/www.conf · restart with
service php5-fpm restart · site config goes to
/etc/nginx/sites-available/statusengine-ui.
yum install nginx php-fpm
systemctl enable nginx
systemctl enable php-fpm
php-fpm pool config: /etc/php-fpm.d/www.conf · restart with
systemctl restart php-fpm · site config goes to
/etc/nginx/conf.d/statusengine-ui.conf.
;Remove this line - or make it become a comment
;listen = /run/php/php7.2-fpm.sock

; Add this line to use TCP
listen = 127.0.0.1:9000
The site configuration itself:
server {
    #Redirect http to https
    listen         80;
    server_name statusengine.example.org;

    server_tokens off;
    return 301 https://$host$request_uri;
}

server {
    listen 443 ssl;
    server_name statusengine.example.org;

    server_tokens off;
    ssl_certificate     /etc/ssl/certs/ssl-cert-snakeoil.pem;
    ssl_certificate_key /etc/ssl/private/ssl-cert-snakeoil.key;

    root   /usr/share/statusengine-ui/public/;
    index  index.html;

    access_log /var/log/nginx/access.log;
    error_log /var/log/nginx/error.log;

    location ~ \index.php {
        include /etc/nginx/fastcgi_params;
        fastcgi_pass     127.0.0.1:9000;
        fastcgi_index    index.php;
        fastcgi_param    SCRIPT_FILENAME $document_root/api/index.php;
        fastcgi_param    SCRIPT_NAME  /api/index.php;
        fastcgi_param    PHP_SELF     $document_uri;
    }

    location ~ /\.git {
        deny all;
    }

    # Remove css, js, and images from access log
    location ~* \.(?:css|js|svg|gif|png|html|ttf|ico|jpg|jpeg)$ {
        access_log off;
    }
}
Enable the configuration and restart the web server.
rm /etc/nginx/sites-enabled/default
ln -s /etc/nginx/sites-available/statusengine-ui /etc/nginx/sites-enabled/statusengine-ui

systemctl restart nginx
On Ubuntu 16.04 and 14.04, use service nginx restart instead.
Remove the server definition from /etc/nginx/nginx.conf, then:
systemctl restart nginxPHP built-in server
You can also use the PHP built-in web server, for example in a Docker environment:
php -S 0.0.0.0:80 -t /usr/share/statusengine-ui/publicBefore you do, take a look at the PHP manual on the built-in web server .
Manage users
To manage the users of Statusengine UI basic auth you need the CLI tool that ships with Statusengine. Managing users through the interface is not possible.
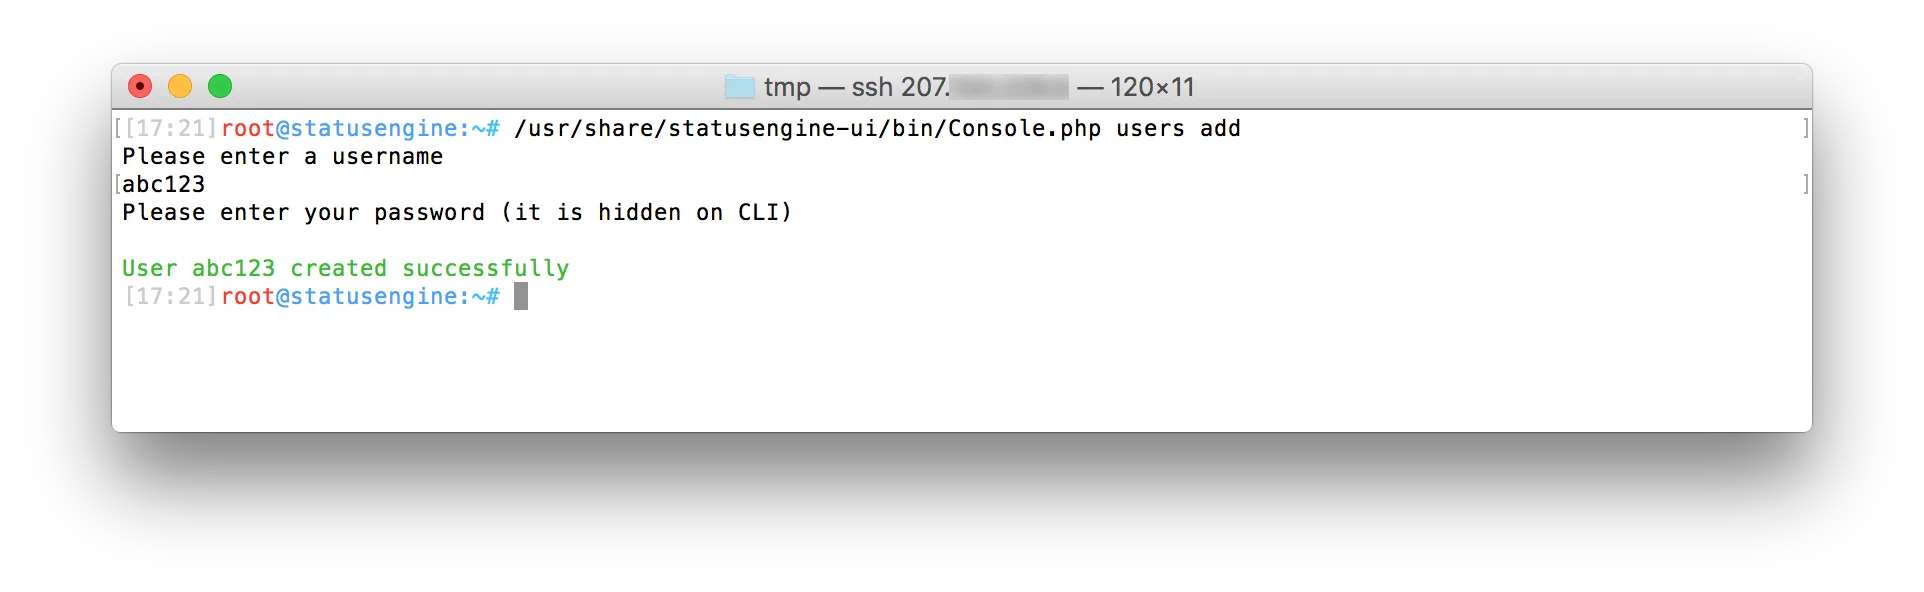
/usr/share/statusengine-ui/bin/Console.php usersCreate a new user. If you call the add action without parameters, the
shell spawns in interactive mode and asks for username and password.
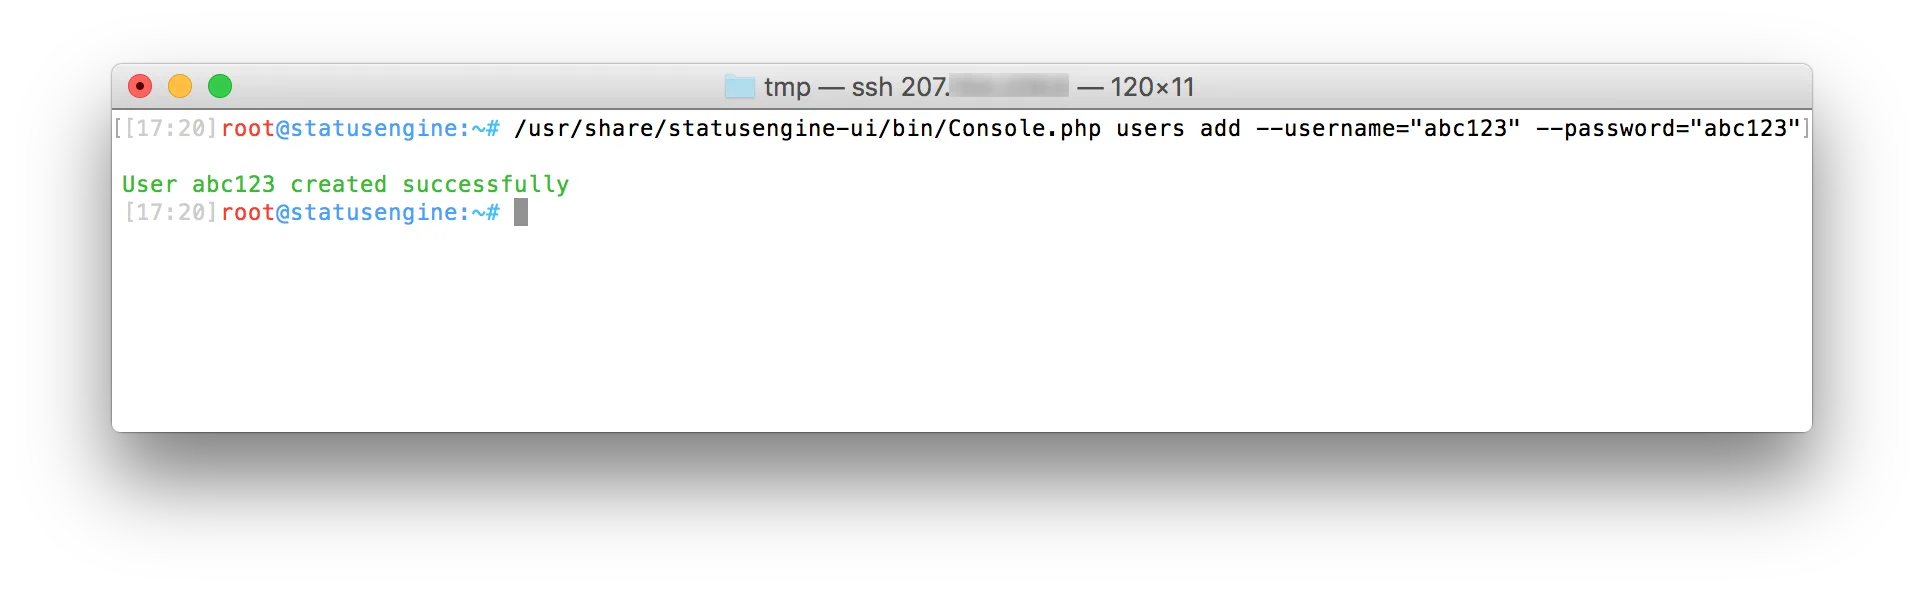
Create a new user, non-interactive. If you call add with the parameters
--username and --password, the user is created without any questions. This
is useful for automation, with Ansible for example.
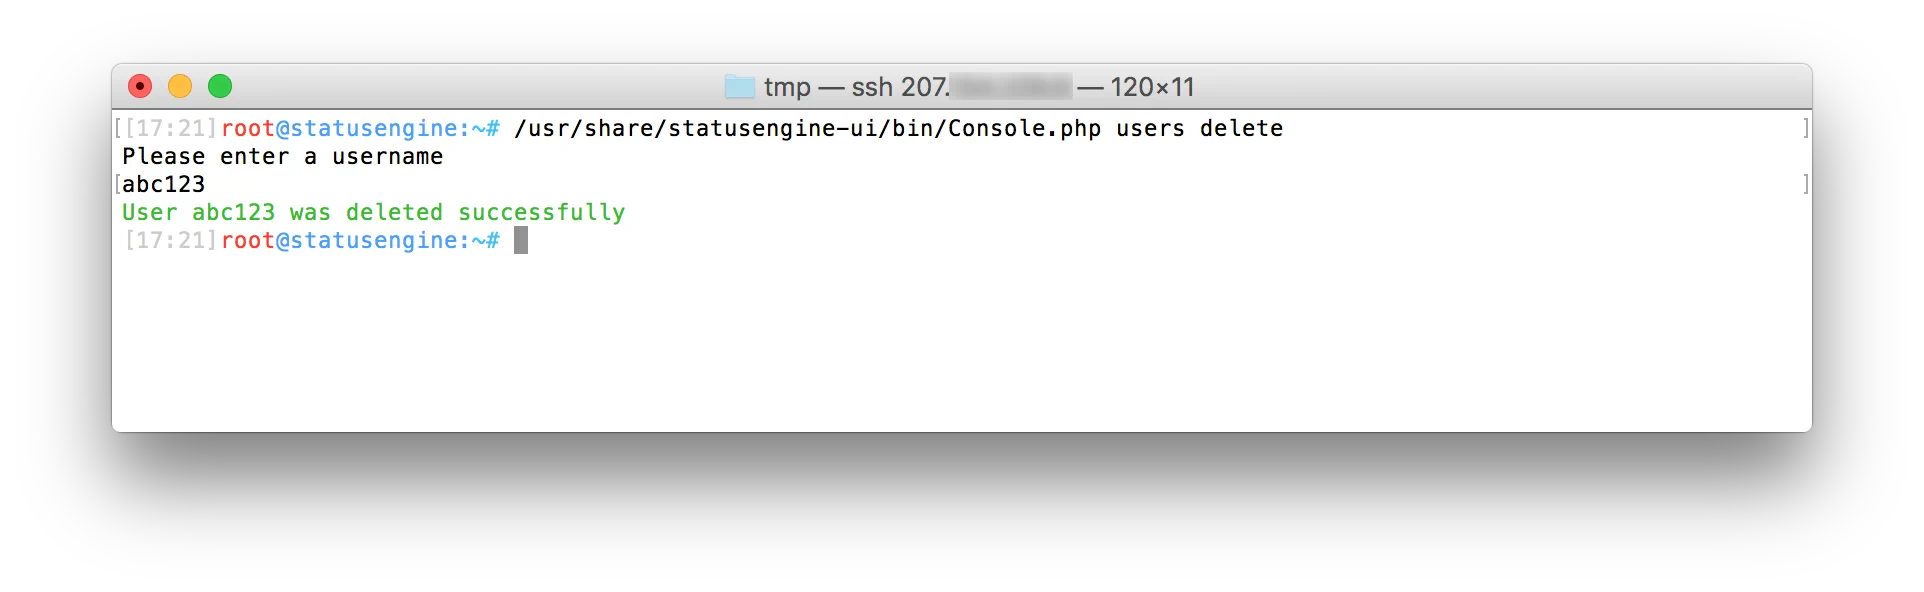
Delete a user. Call the delete action to remove users. In interactive mode
Statusengine UI autocompletes usernames.
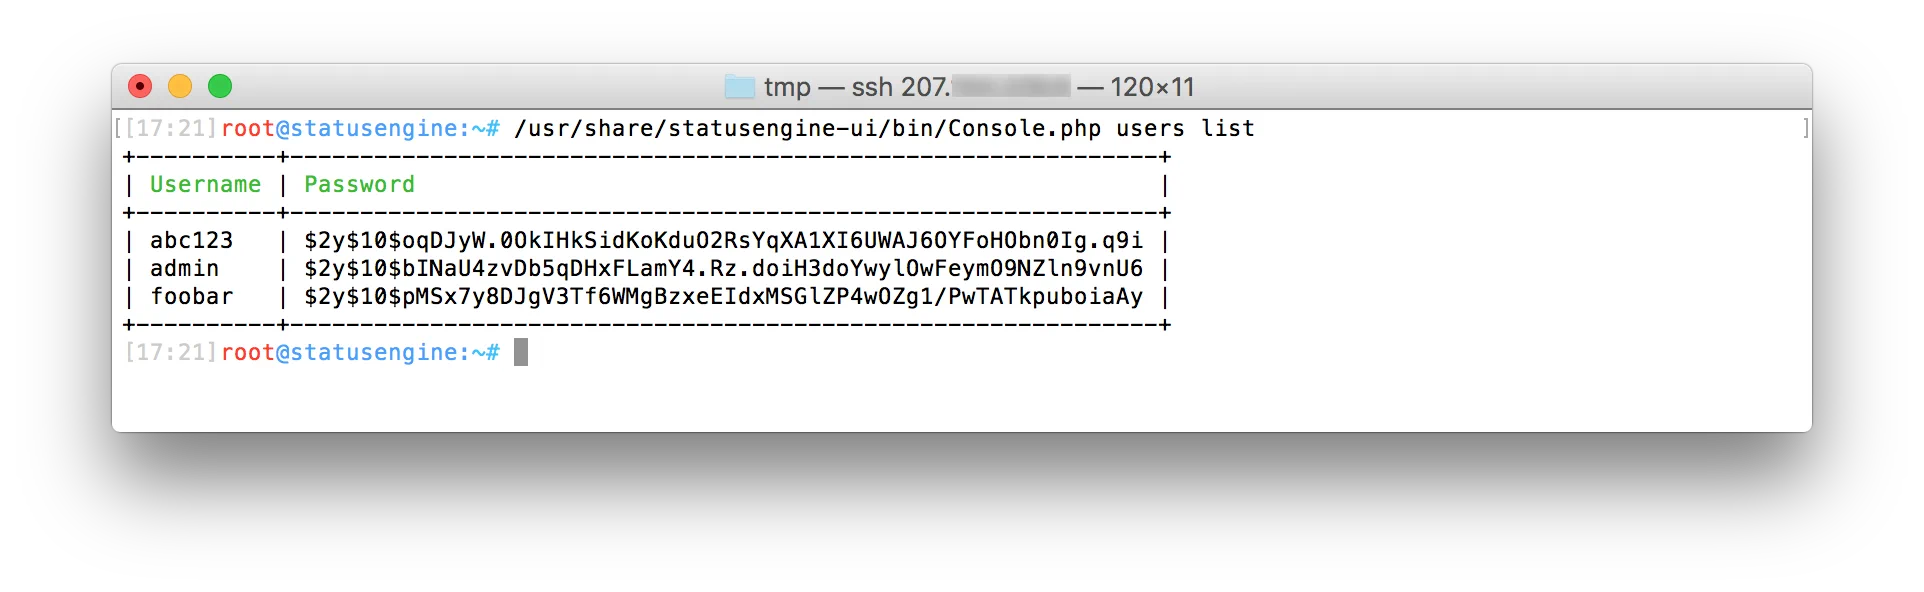
List users. Call the list action to get a list of all available users.
All actions can be called in interactive or non-interactive mode. As always,
--help is your friend.
UI Settings
Statusengine UI allows some user-specific settings. All settings are saved in the local storage of your browser.
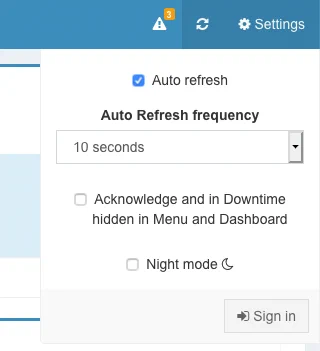
- Auto refresh — enable or disable the automatic page refresh interval. If you scroll, auto refresh is temporarily disabled to avoid jumping lines while you read a log file.
- Auto refresh frequency — choose from a predefined list of intervals.
- Acknowledged and in downtime hidden in menu and dashboard — hosts and services whose current state was acknowledged, or for which a period of downtime was scheduled, no longer count as Down, Unreachable, Warning, Critical or Unknown in the menu state overview and the dashboard. They are only hidden; they do not count as Up or Ok, and they are not hidden from the state lists.
- Night mode — enables the dark theme.
How to update
If you installed Statusengine UI through git, the update is done quickly.
Create a backup of your files
cp -r /usr/share/statusengine-ui /some/backup/pathUpdate your local files
cd /usr/share/statusengine-ui
git pull origin master
composer update
Check for configuration changes
Your old configuration is still loaded, and Statusengine UI defines a default for every configuration variable. Still, compare your configuration with the new example file for interesting new options.
vimdiff /usr/share/statusengine-ui/etc/config.yml /usr/share/statusengine-ui/etc/config.yml.example